Quickstart
This guide will teach you how to use the essential features of Voice Atlas. We’ll start with the account basics then continue on to create an Atlas which you can start using immediately. It is recommended to follow along with your account if you are new to Voice Atlas.
After completing this Quickstart, your Voice Atlas account will be set up with your very first Atlas working and ready to use.
Quickstart Video
This video contains the same information as the written tutorial below without the optional integration with your website or activating your Atlas on Alexa™-enabled device.
Create an Account
Head over to the Voice Atlas Web App to create your account. You will be asked to provide your name, an email address, and to create a password. Once your account has been created, you will receive a verification code in your inbox.
Copy and paste the code to complete the account verification process.
You may now log in to the Voice Atlas Web App with your confirmed email and password.
The verification email might take a few minutes to arrive. If you click out of the page where the verification code is to be inserted, login as you normally would with the email and the password you created on the Voice Atlas Web App. Our platform will automatically take you to that form where you can insert the verification code and confirm your account.
Create an Atlas
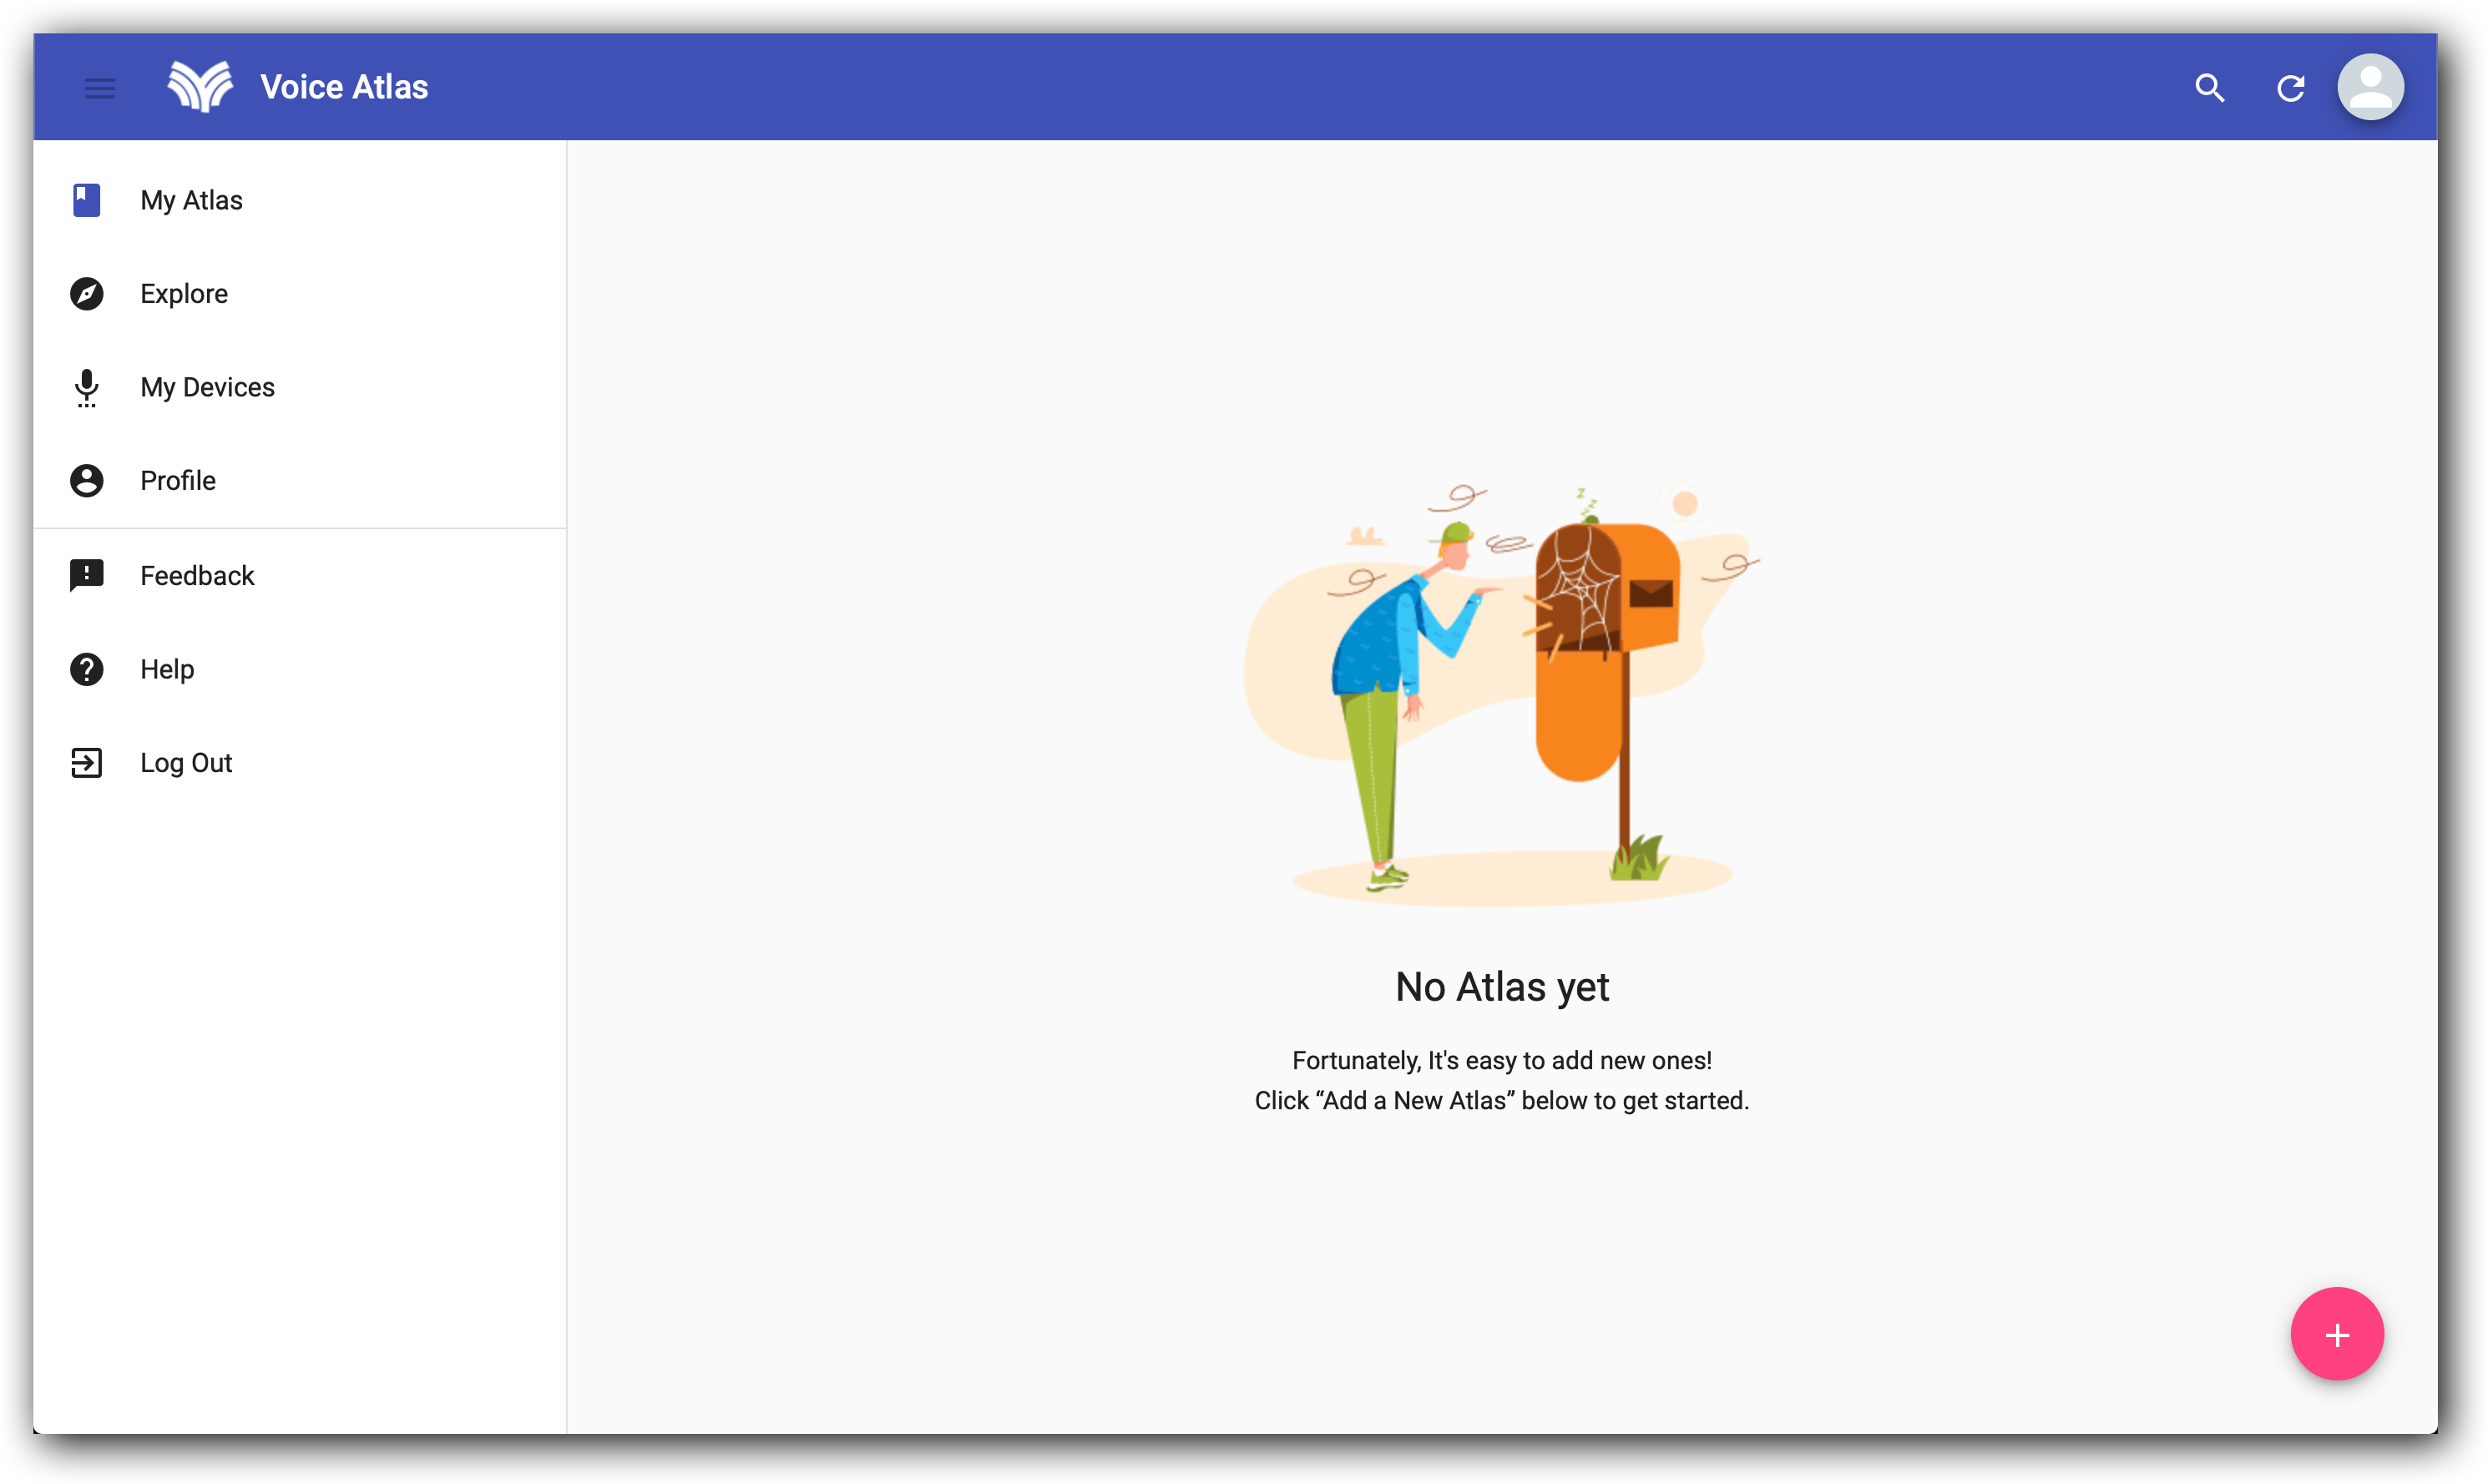
After you have logged in for the first time, you will be brought to your Home feed. This feed consists of the Atlases you have created, which will be empty on the first login. Let’s create your first Atlas.
In the lower, right-hand corner of the My Atlas home or Explore page, you will always find the Add a New Atlas “PLUS SIGN” button. Click the “PLUS SIGN” button to create an Atlas.
Your new Atlas template will include: an image (optional), a title (required), a description (required), and the option to choose public or private visibility of the Atlas when published to the platform.
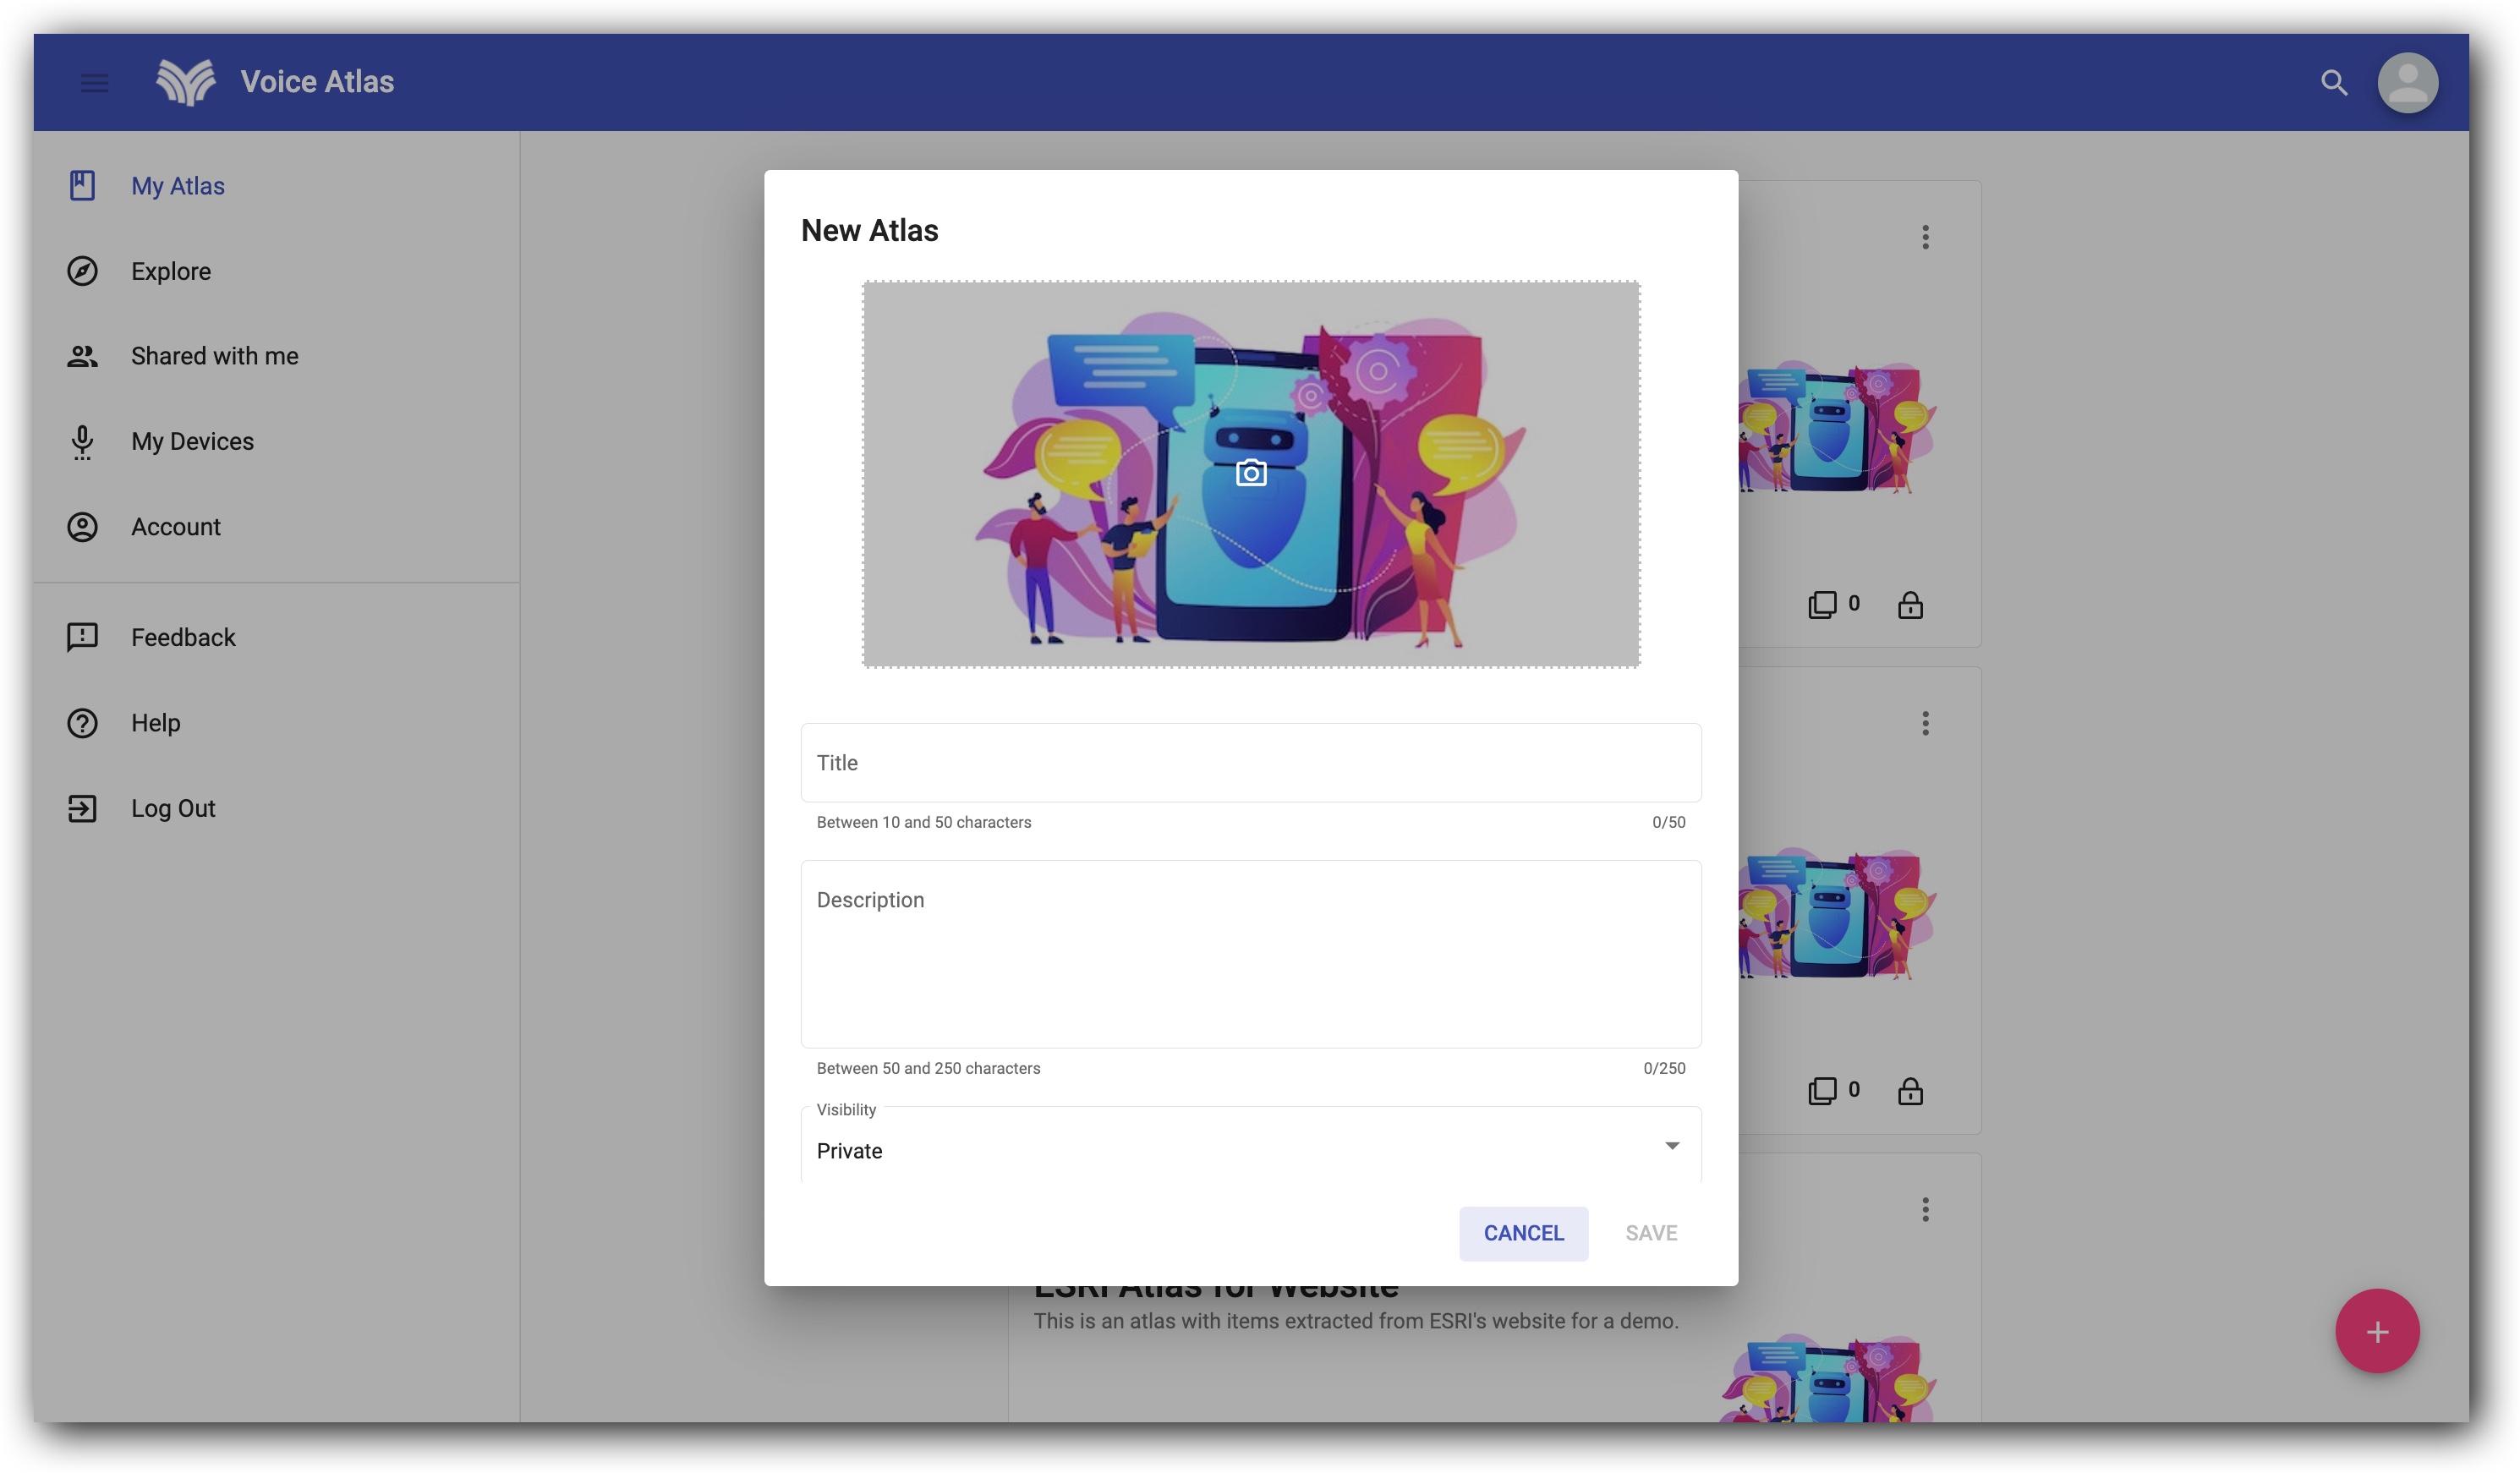
After completing the required fields of a title and description, click “SAVE” to continue to the next step.
Add a content item
Now that you have created an Atlas, you can add content to your Atlas. This is the information that will be provided by the Atlas through user interactions. You have two options to add content: click on “ADD ITEM” or click “IMPORT ITEMS” to attach a CSV file.
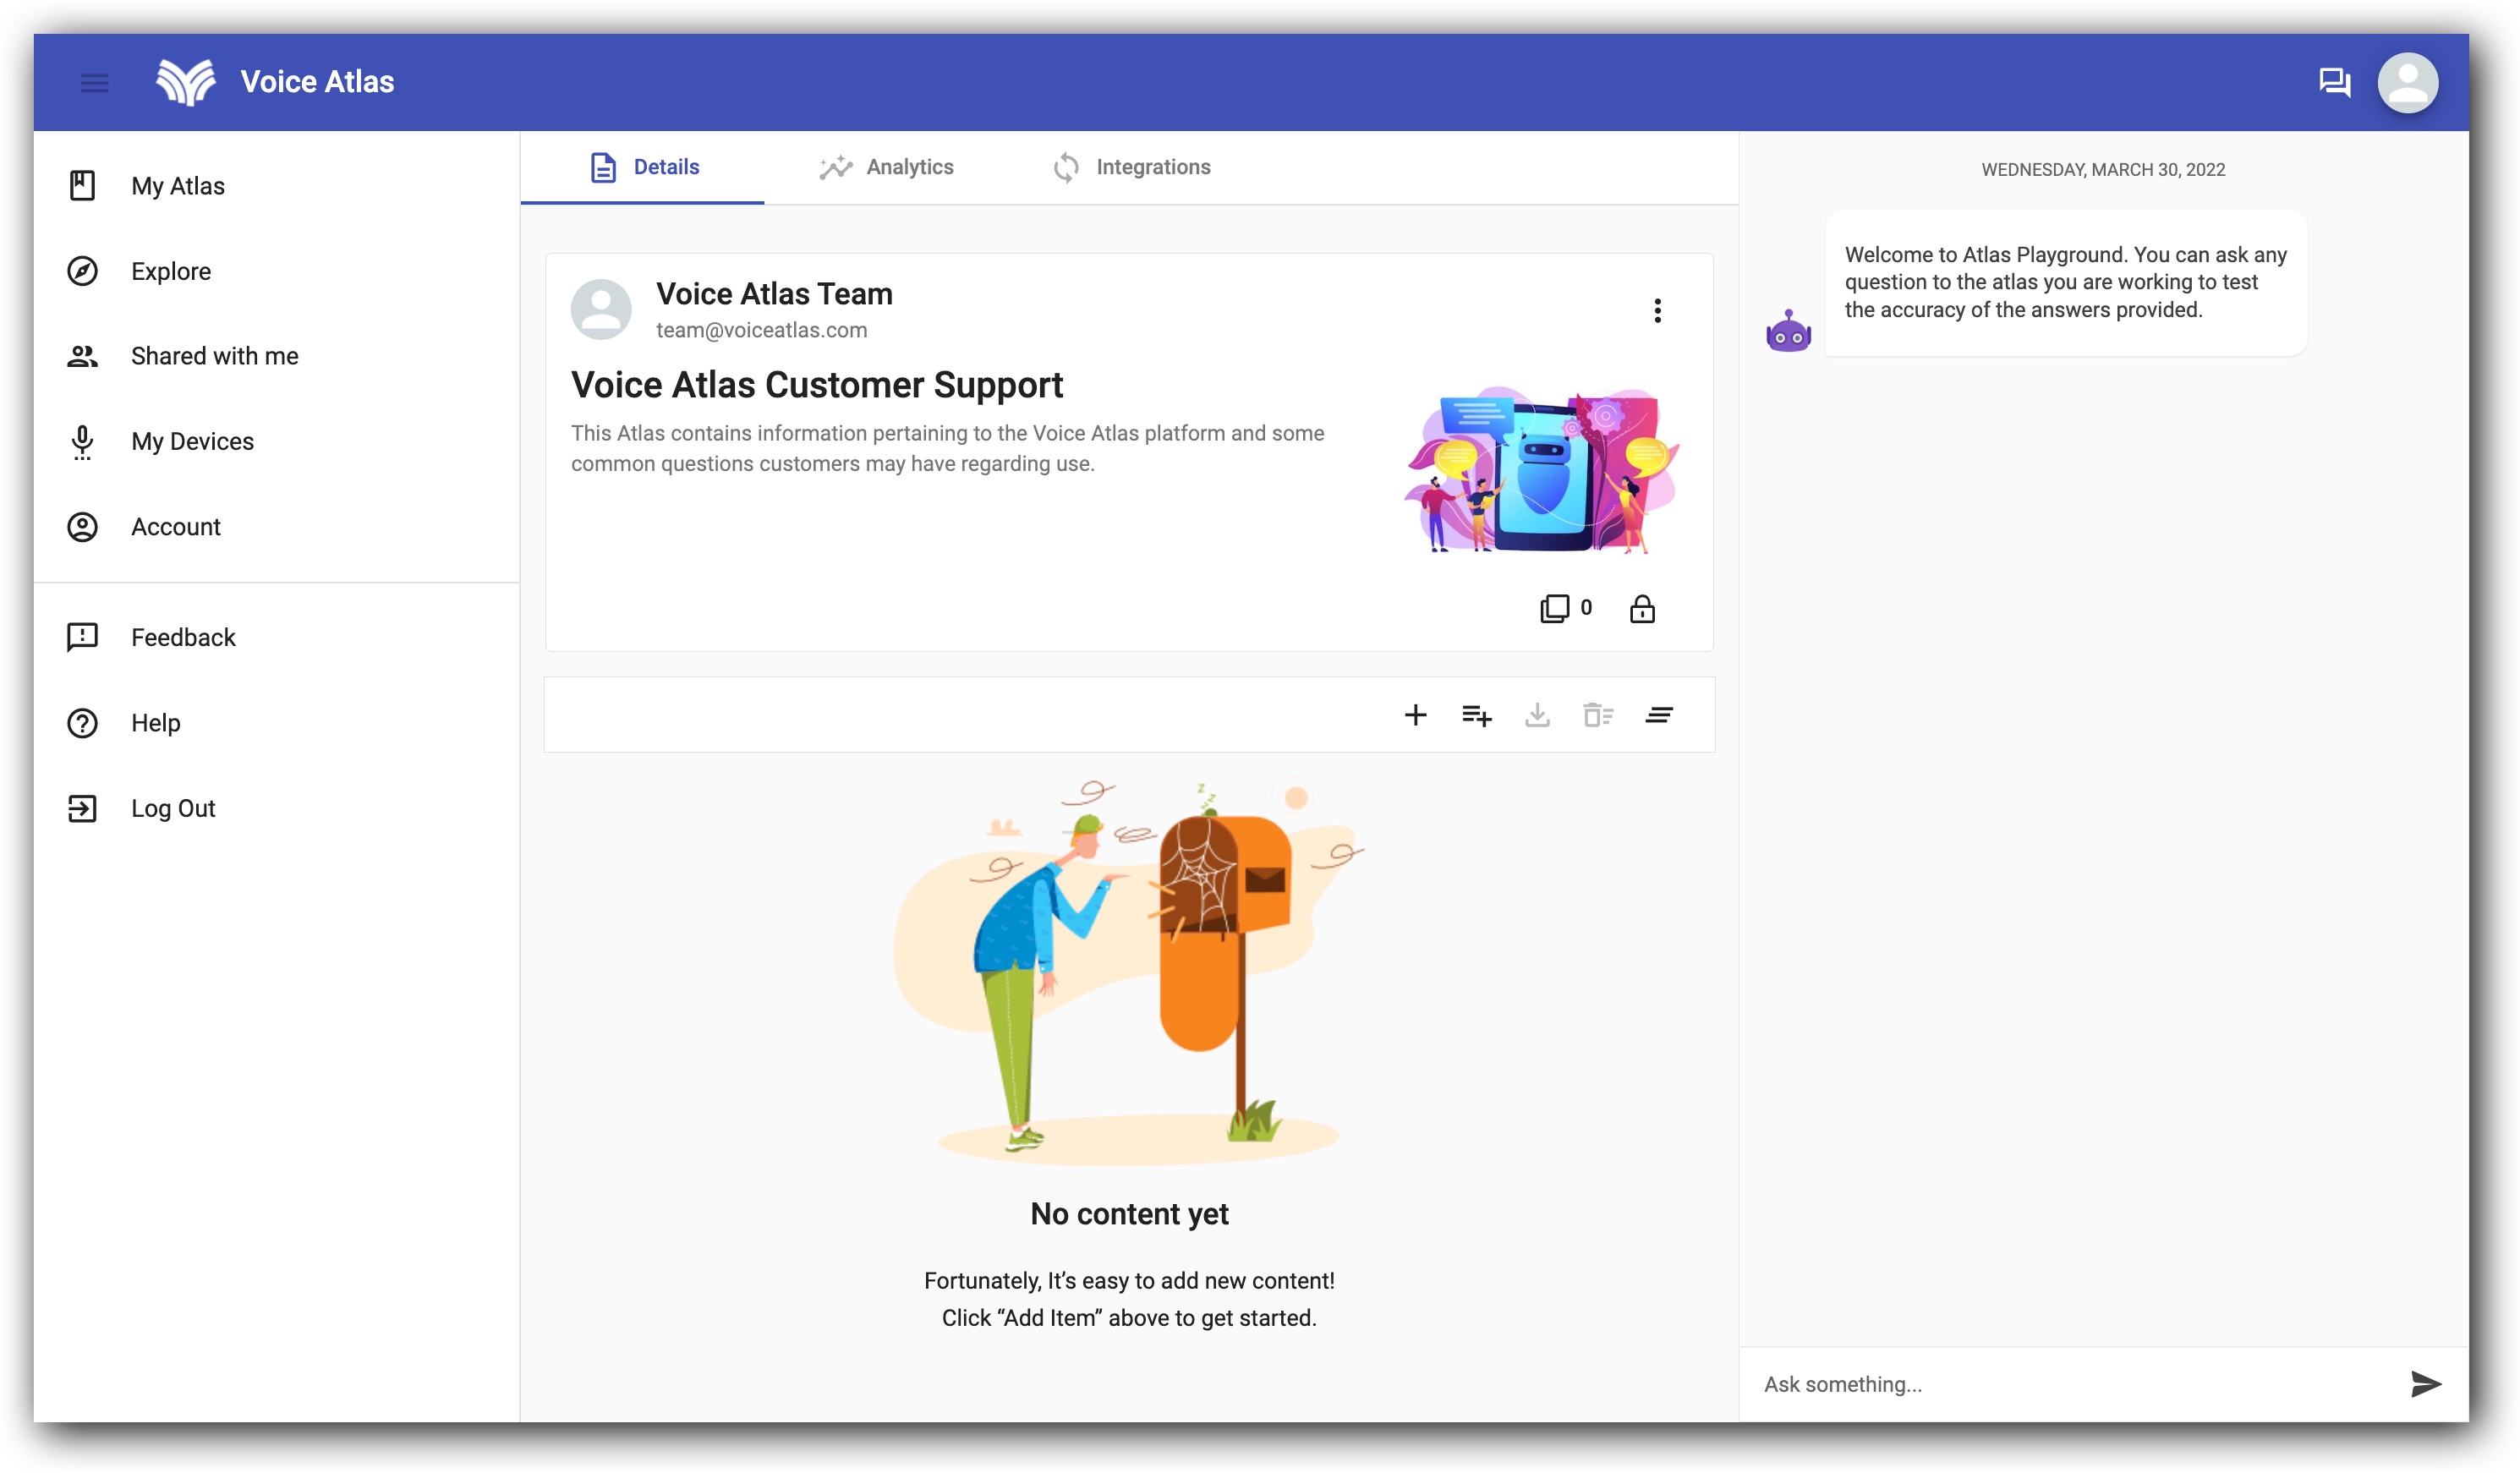
“ADD ITEMS” should be used when you want to add single items of information to your Atlas.
“IMPORT ITEMS” is only available for paid plans should be used to add multiple items via a CSV file per import. A template is provided for you to download when you choose this option.
Context Questions
Every Atlas item has the option to add “Questions” related to the context. Questions are useful when the creator of the Atlas wants the entire context text to be shown whenever a user enters the question. If there is no Question(s) added, the Voice Atlas artificial intelligence will infer the answer, which sometimes includes only sections of the context text contrary to its entirety.
The following is an example of what happens when a Content Item (“What is Voice Atlas?”) uses and doesn’t use the optional Question:
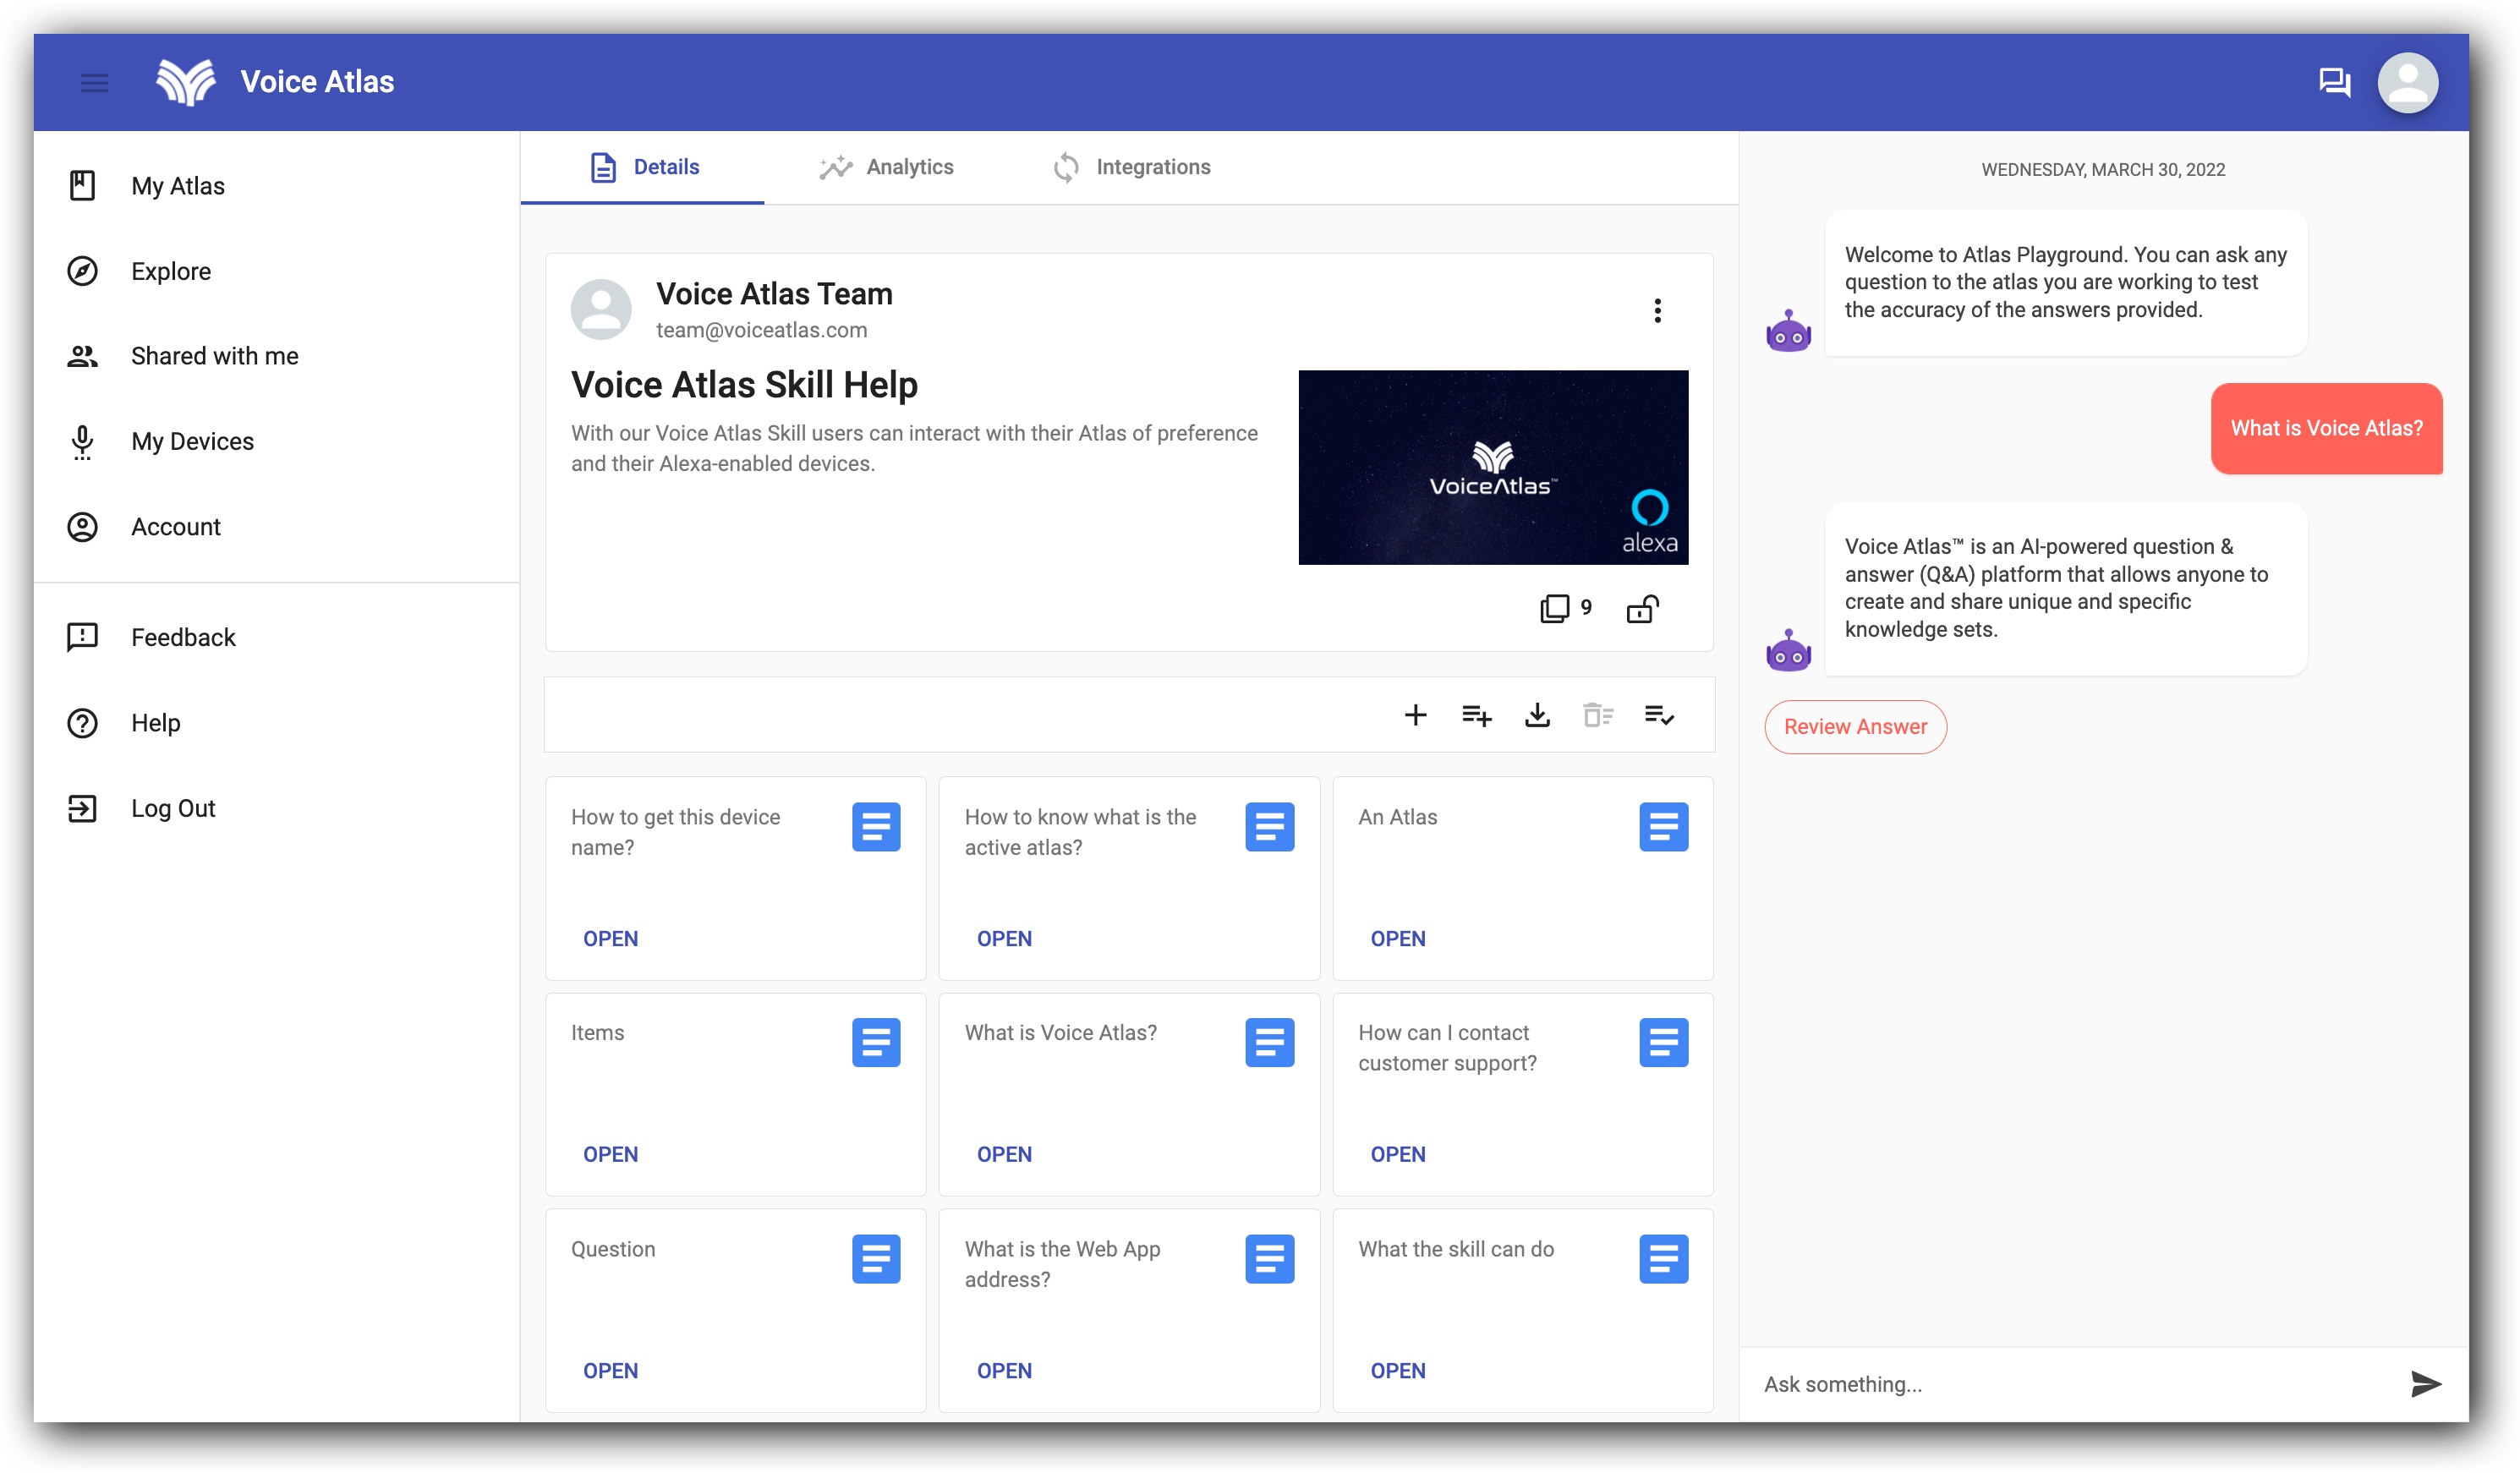
Without the use of the optional Question, the Voice Atlas AI will infer the answer, which, in this case, is only a portion of the written context text.
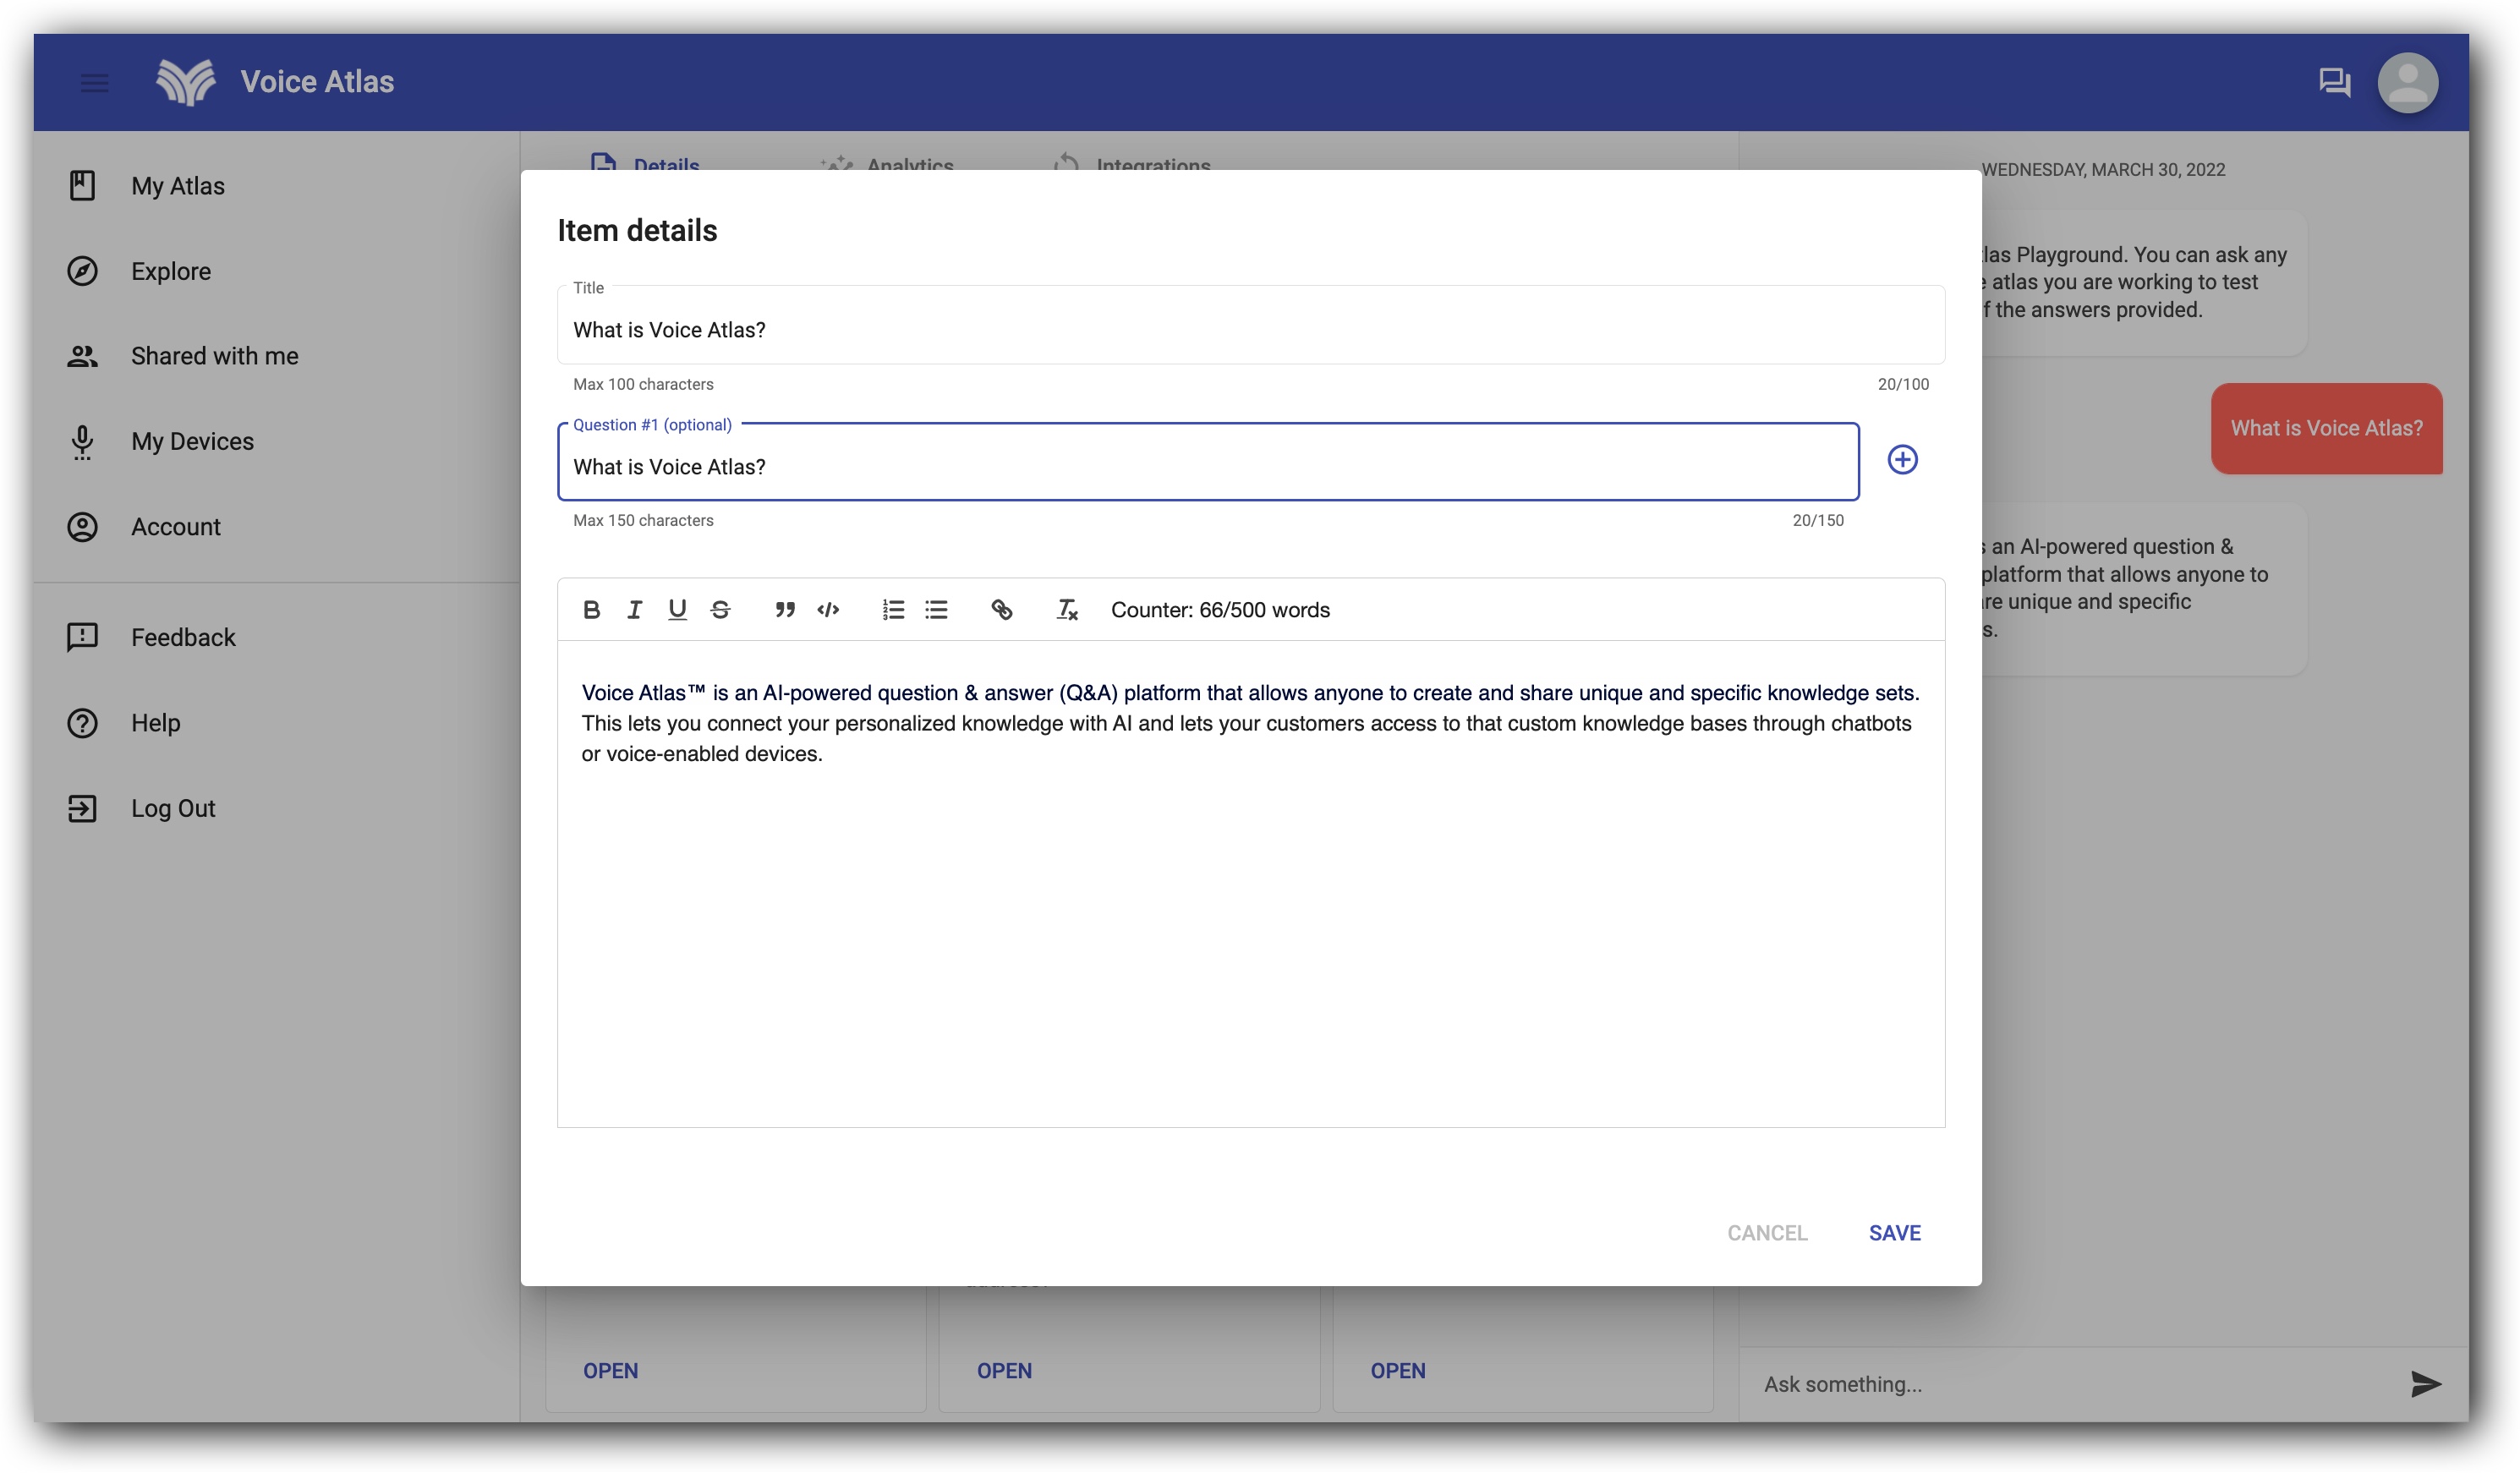
When a Question is added, you are telling the AI that you want the user to receive the entire written context as the answer when they ask the Question.
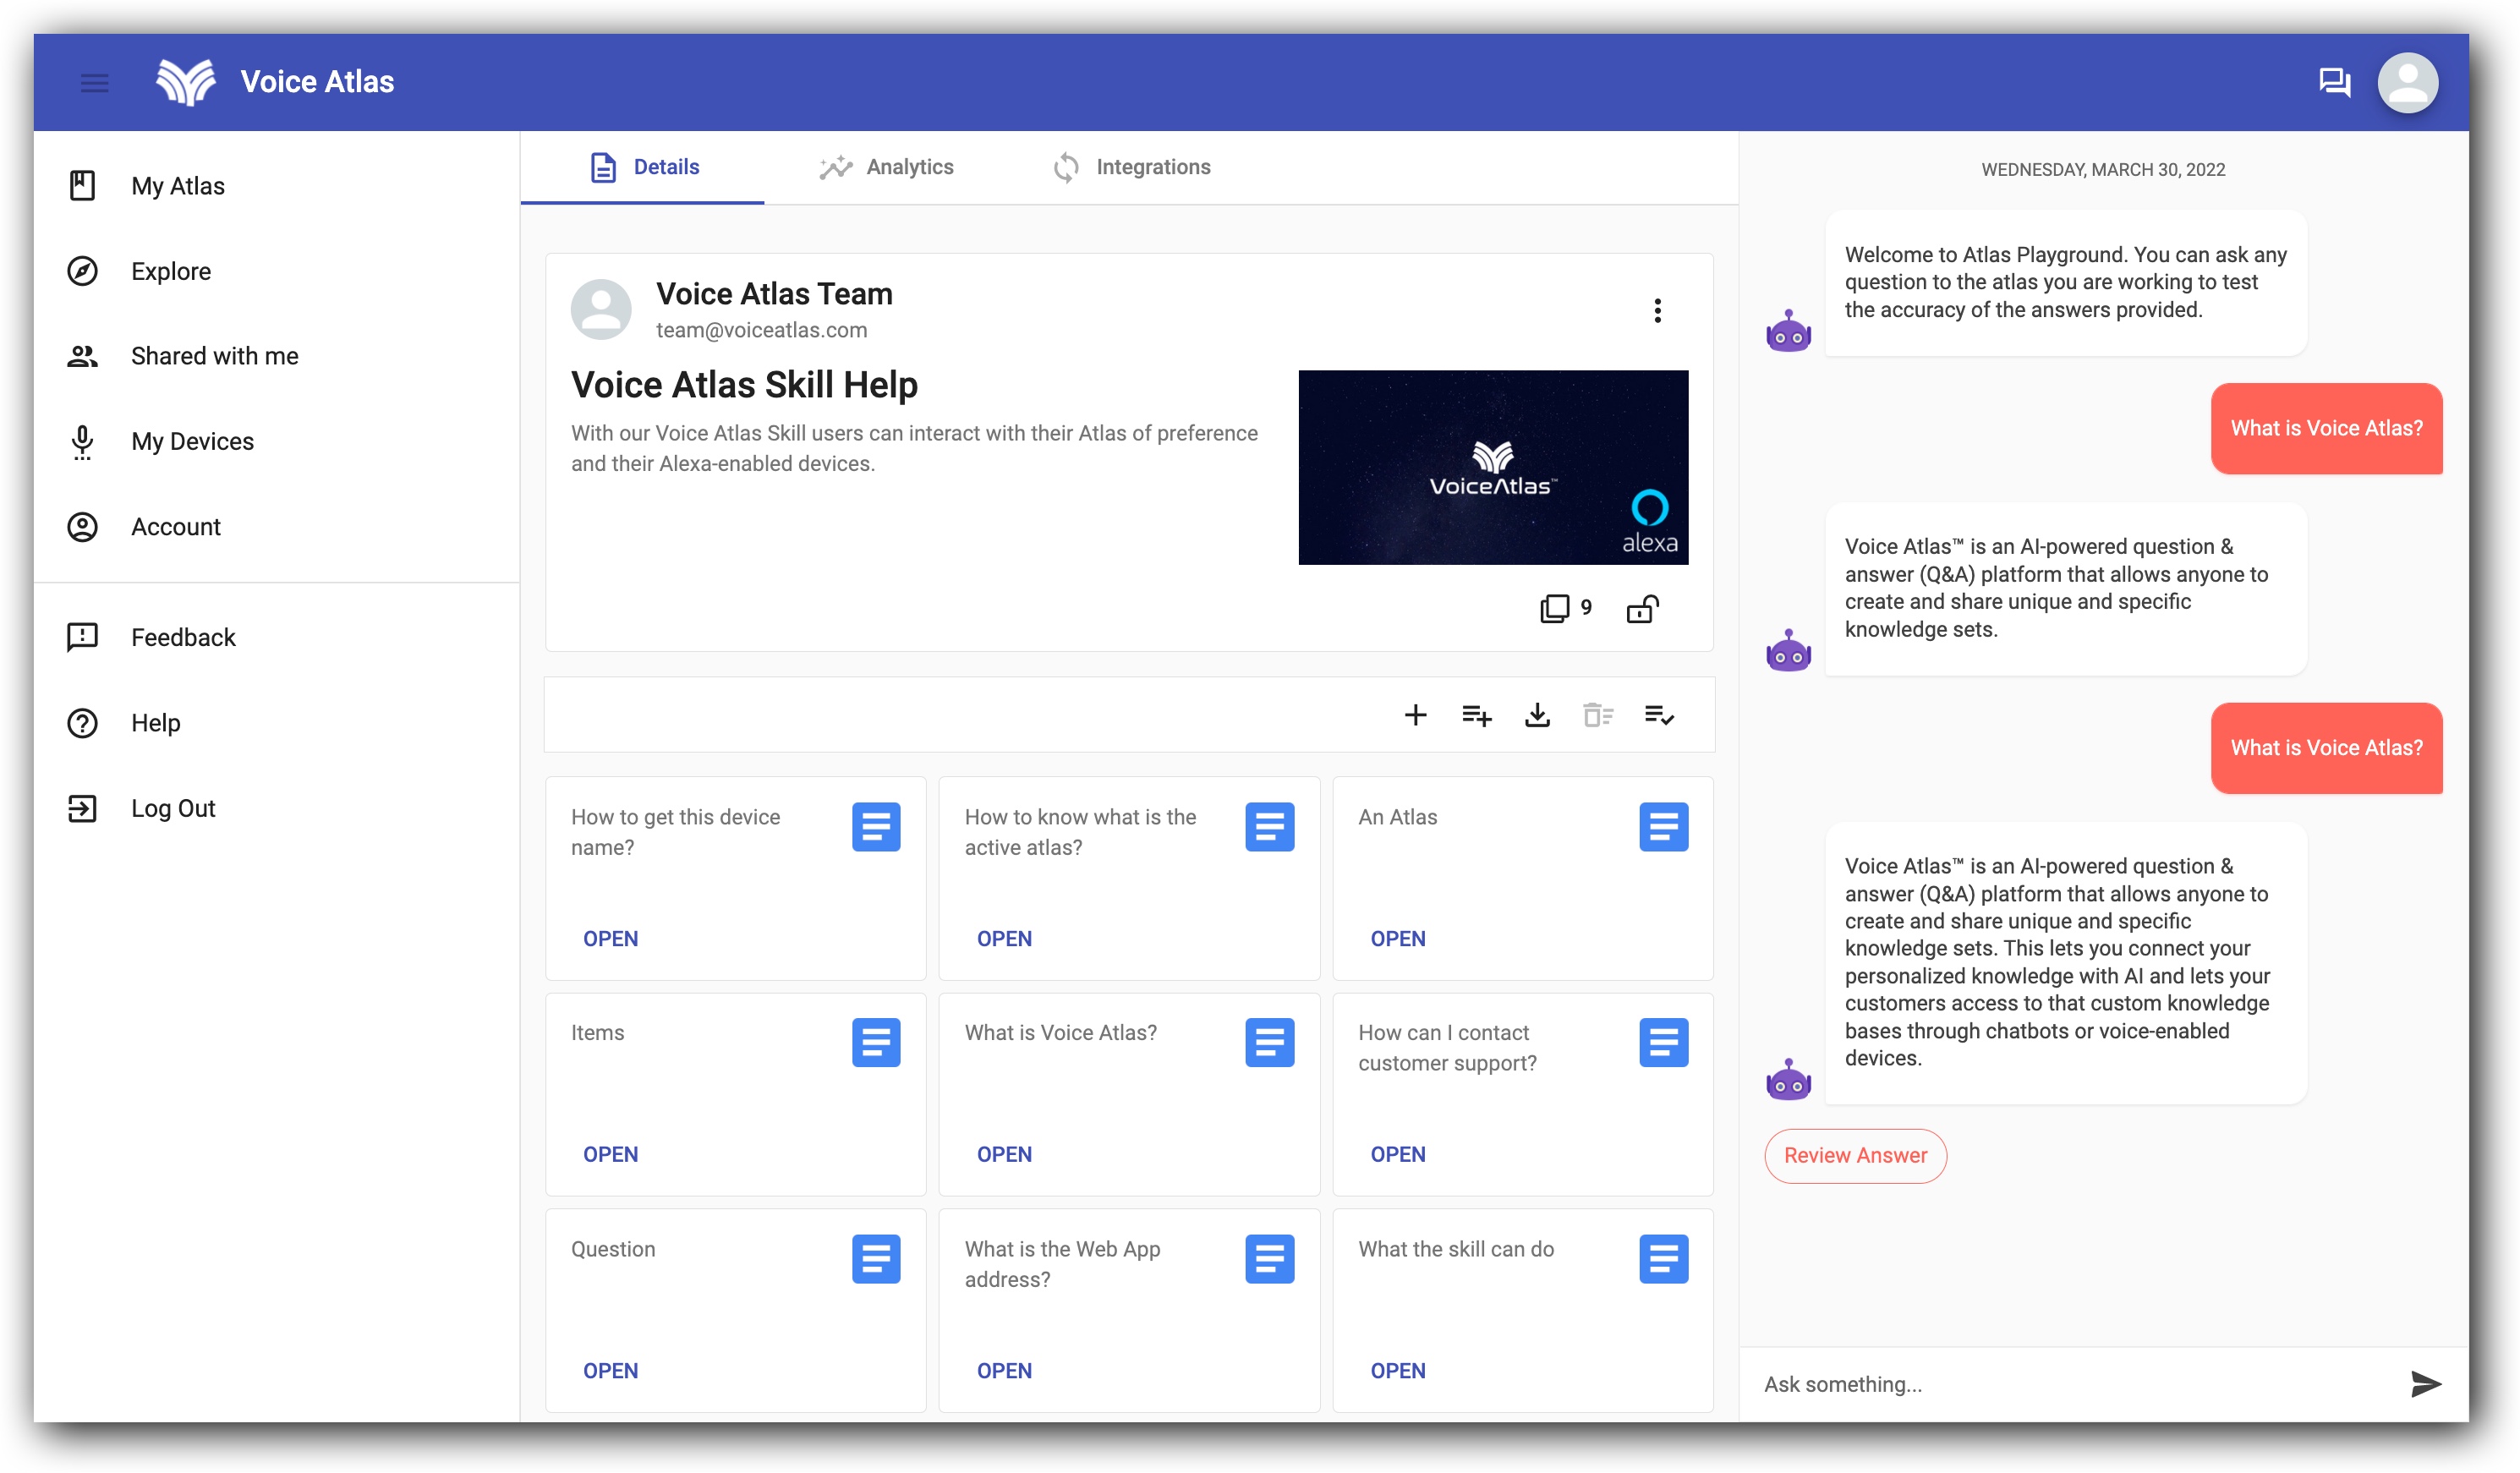
After adding the content, click “SAVE” to keep your changes. Your Atlas will be updated with the new information you provided. You can now test your Atlas with the content added in the Atlas Playground.
Test on Atlas Playground
Atlas Playground is our test pane that allows you to evaluate the accuracy and completeness of your Atlas before integrating and sharing it with your users. Atlas Playground works exactly the same as a usual chatbot except that it is in a private environment and does not affect your monthly request quota.

Use the responses on Atlas Playground to fine tune content details and check to see if the information provided aligns with what you want your audience to know.
Integrate with a website (optional)
Chatlas is a conversational bot (chatbot) that may be enabled for use on a website, on collaboration platforms such as Microsoft Teams™ and other platforms and channels we make available to you in the future. A chatbot may be enabled by clicking the “TOGGLE” so that it becomes active and disabled by clicking the “TOGGLE” so that it becomes inactive.
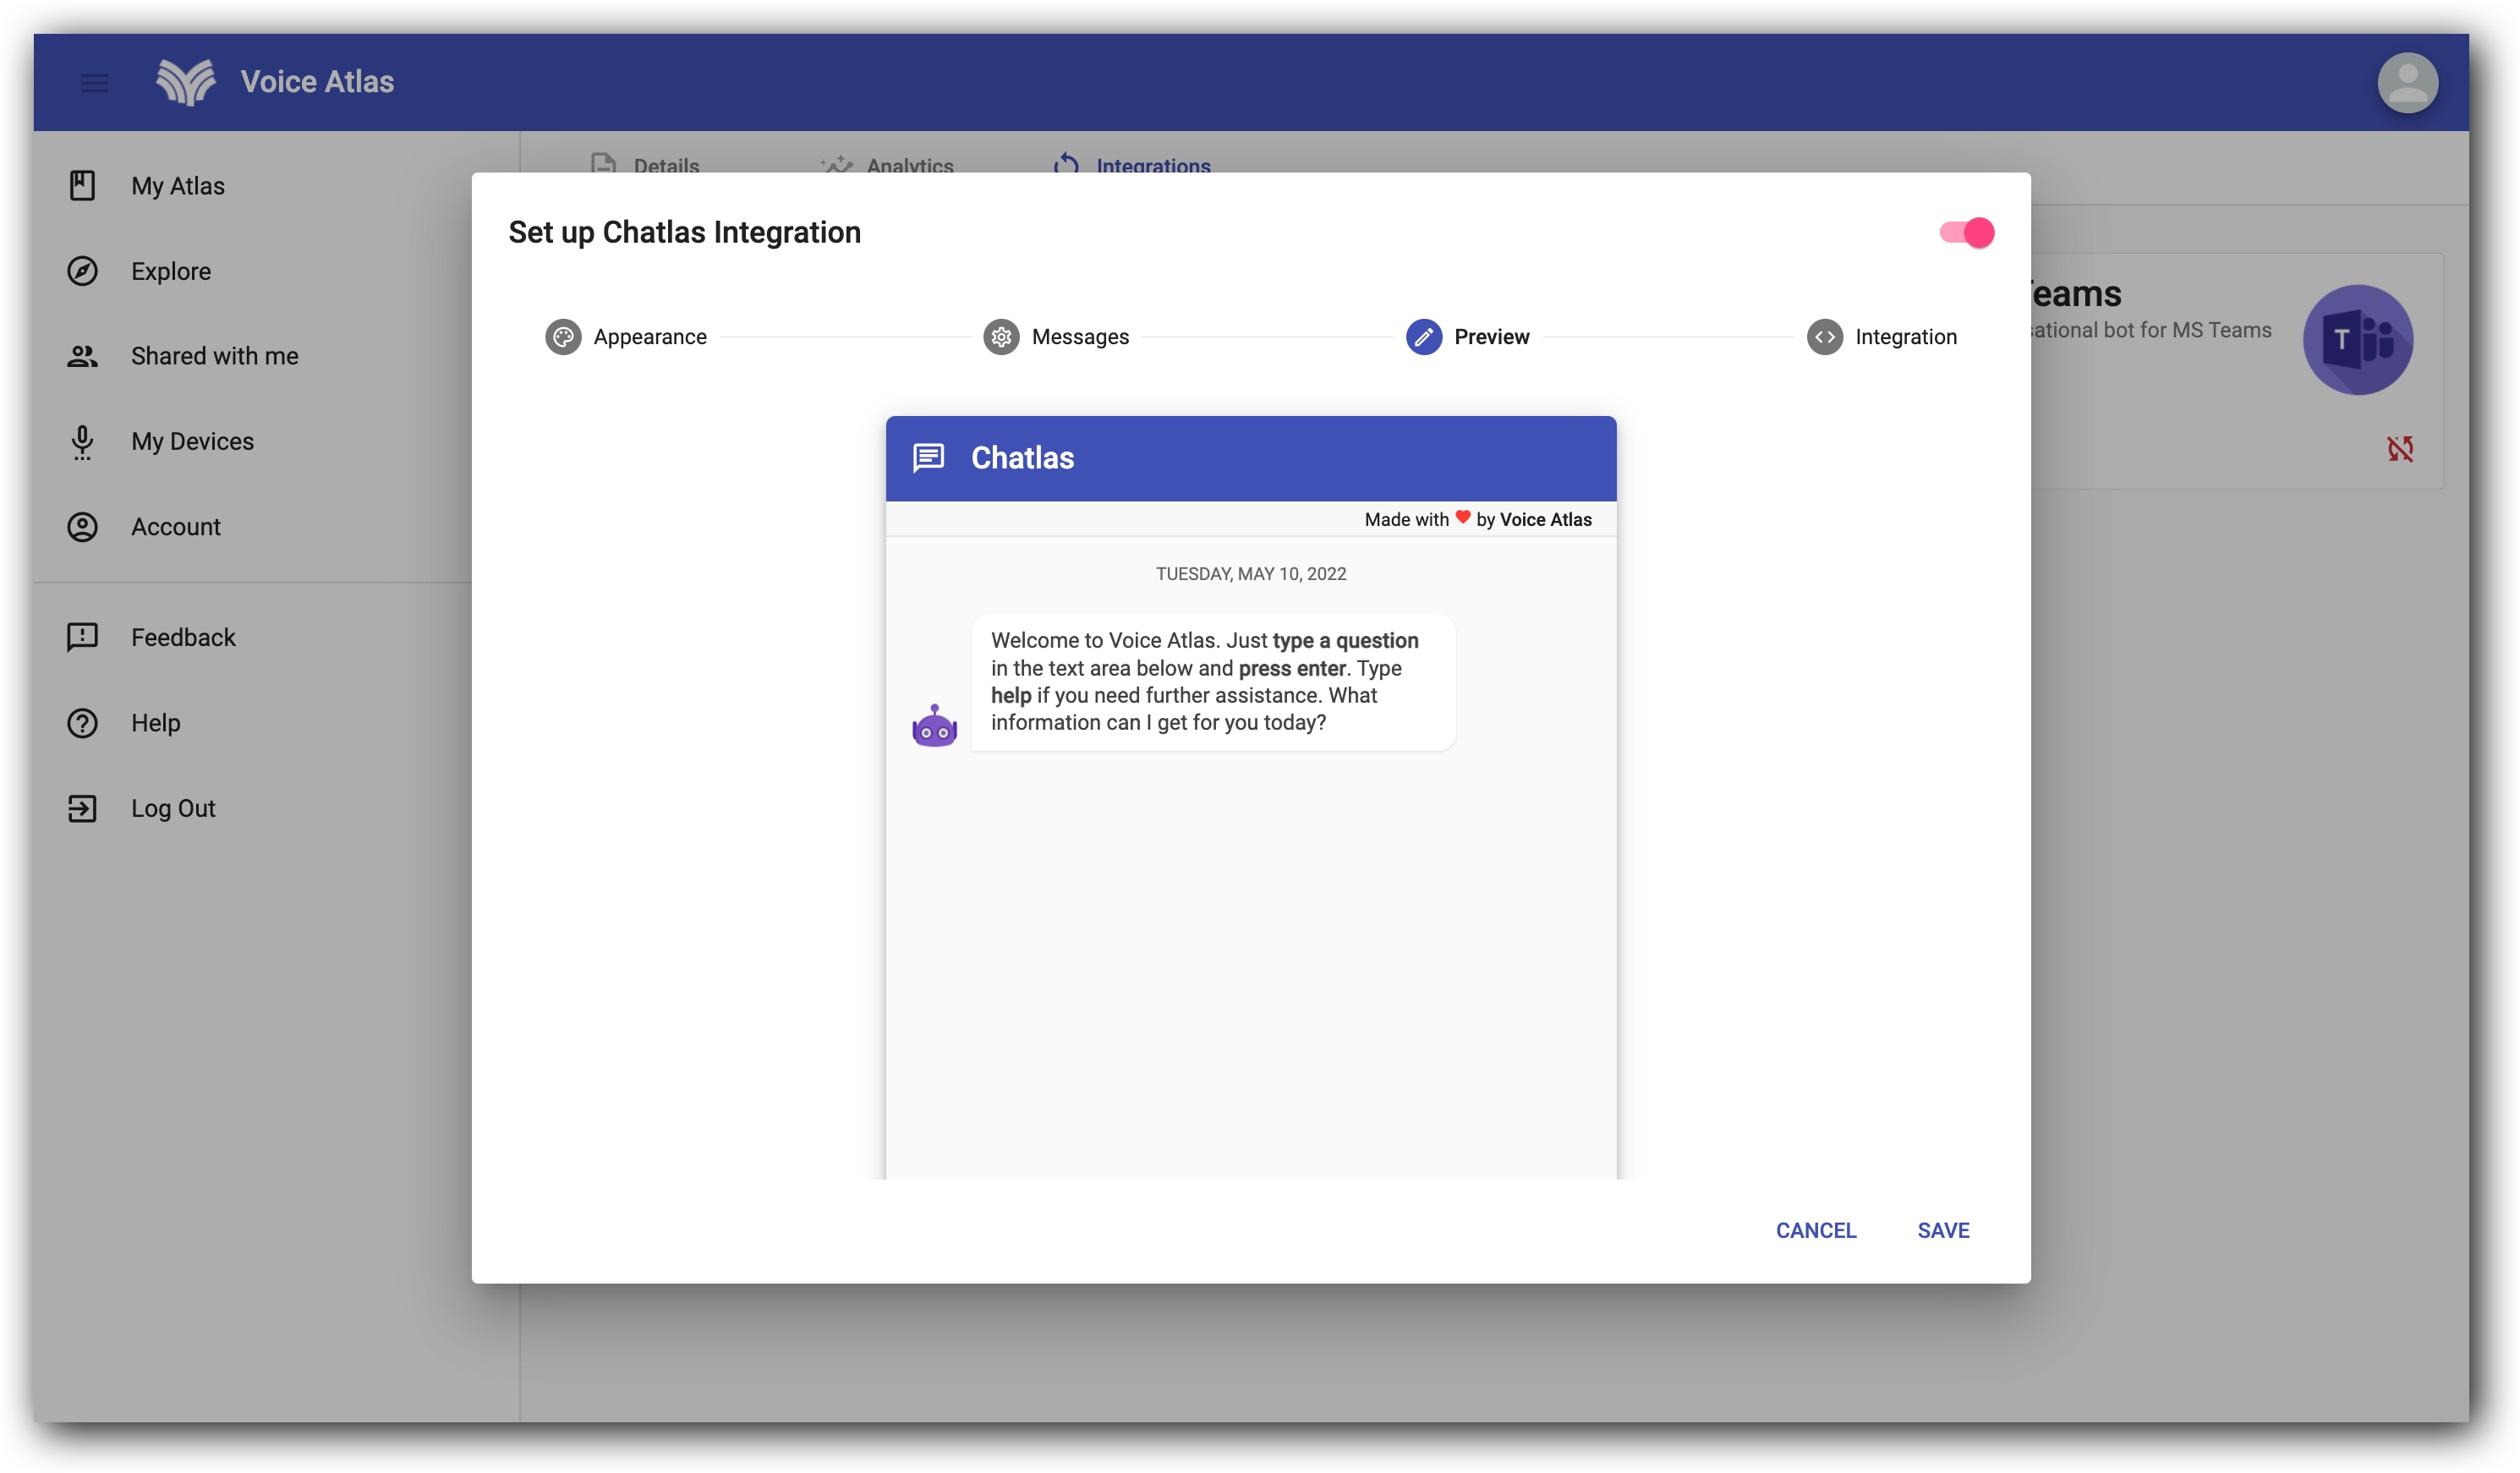
To allow website visitors to interact with your Atlas through Chatlas, complete the following steps:
Click “OPEN” on the Atlas for which you would like to enable a chatbot
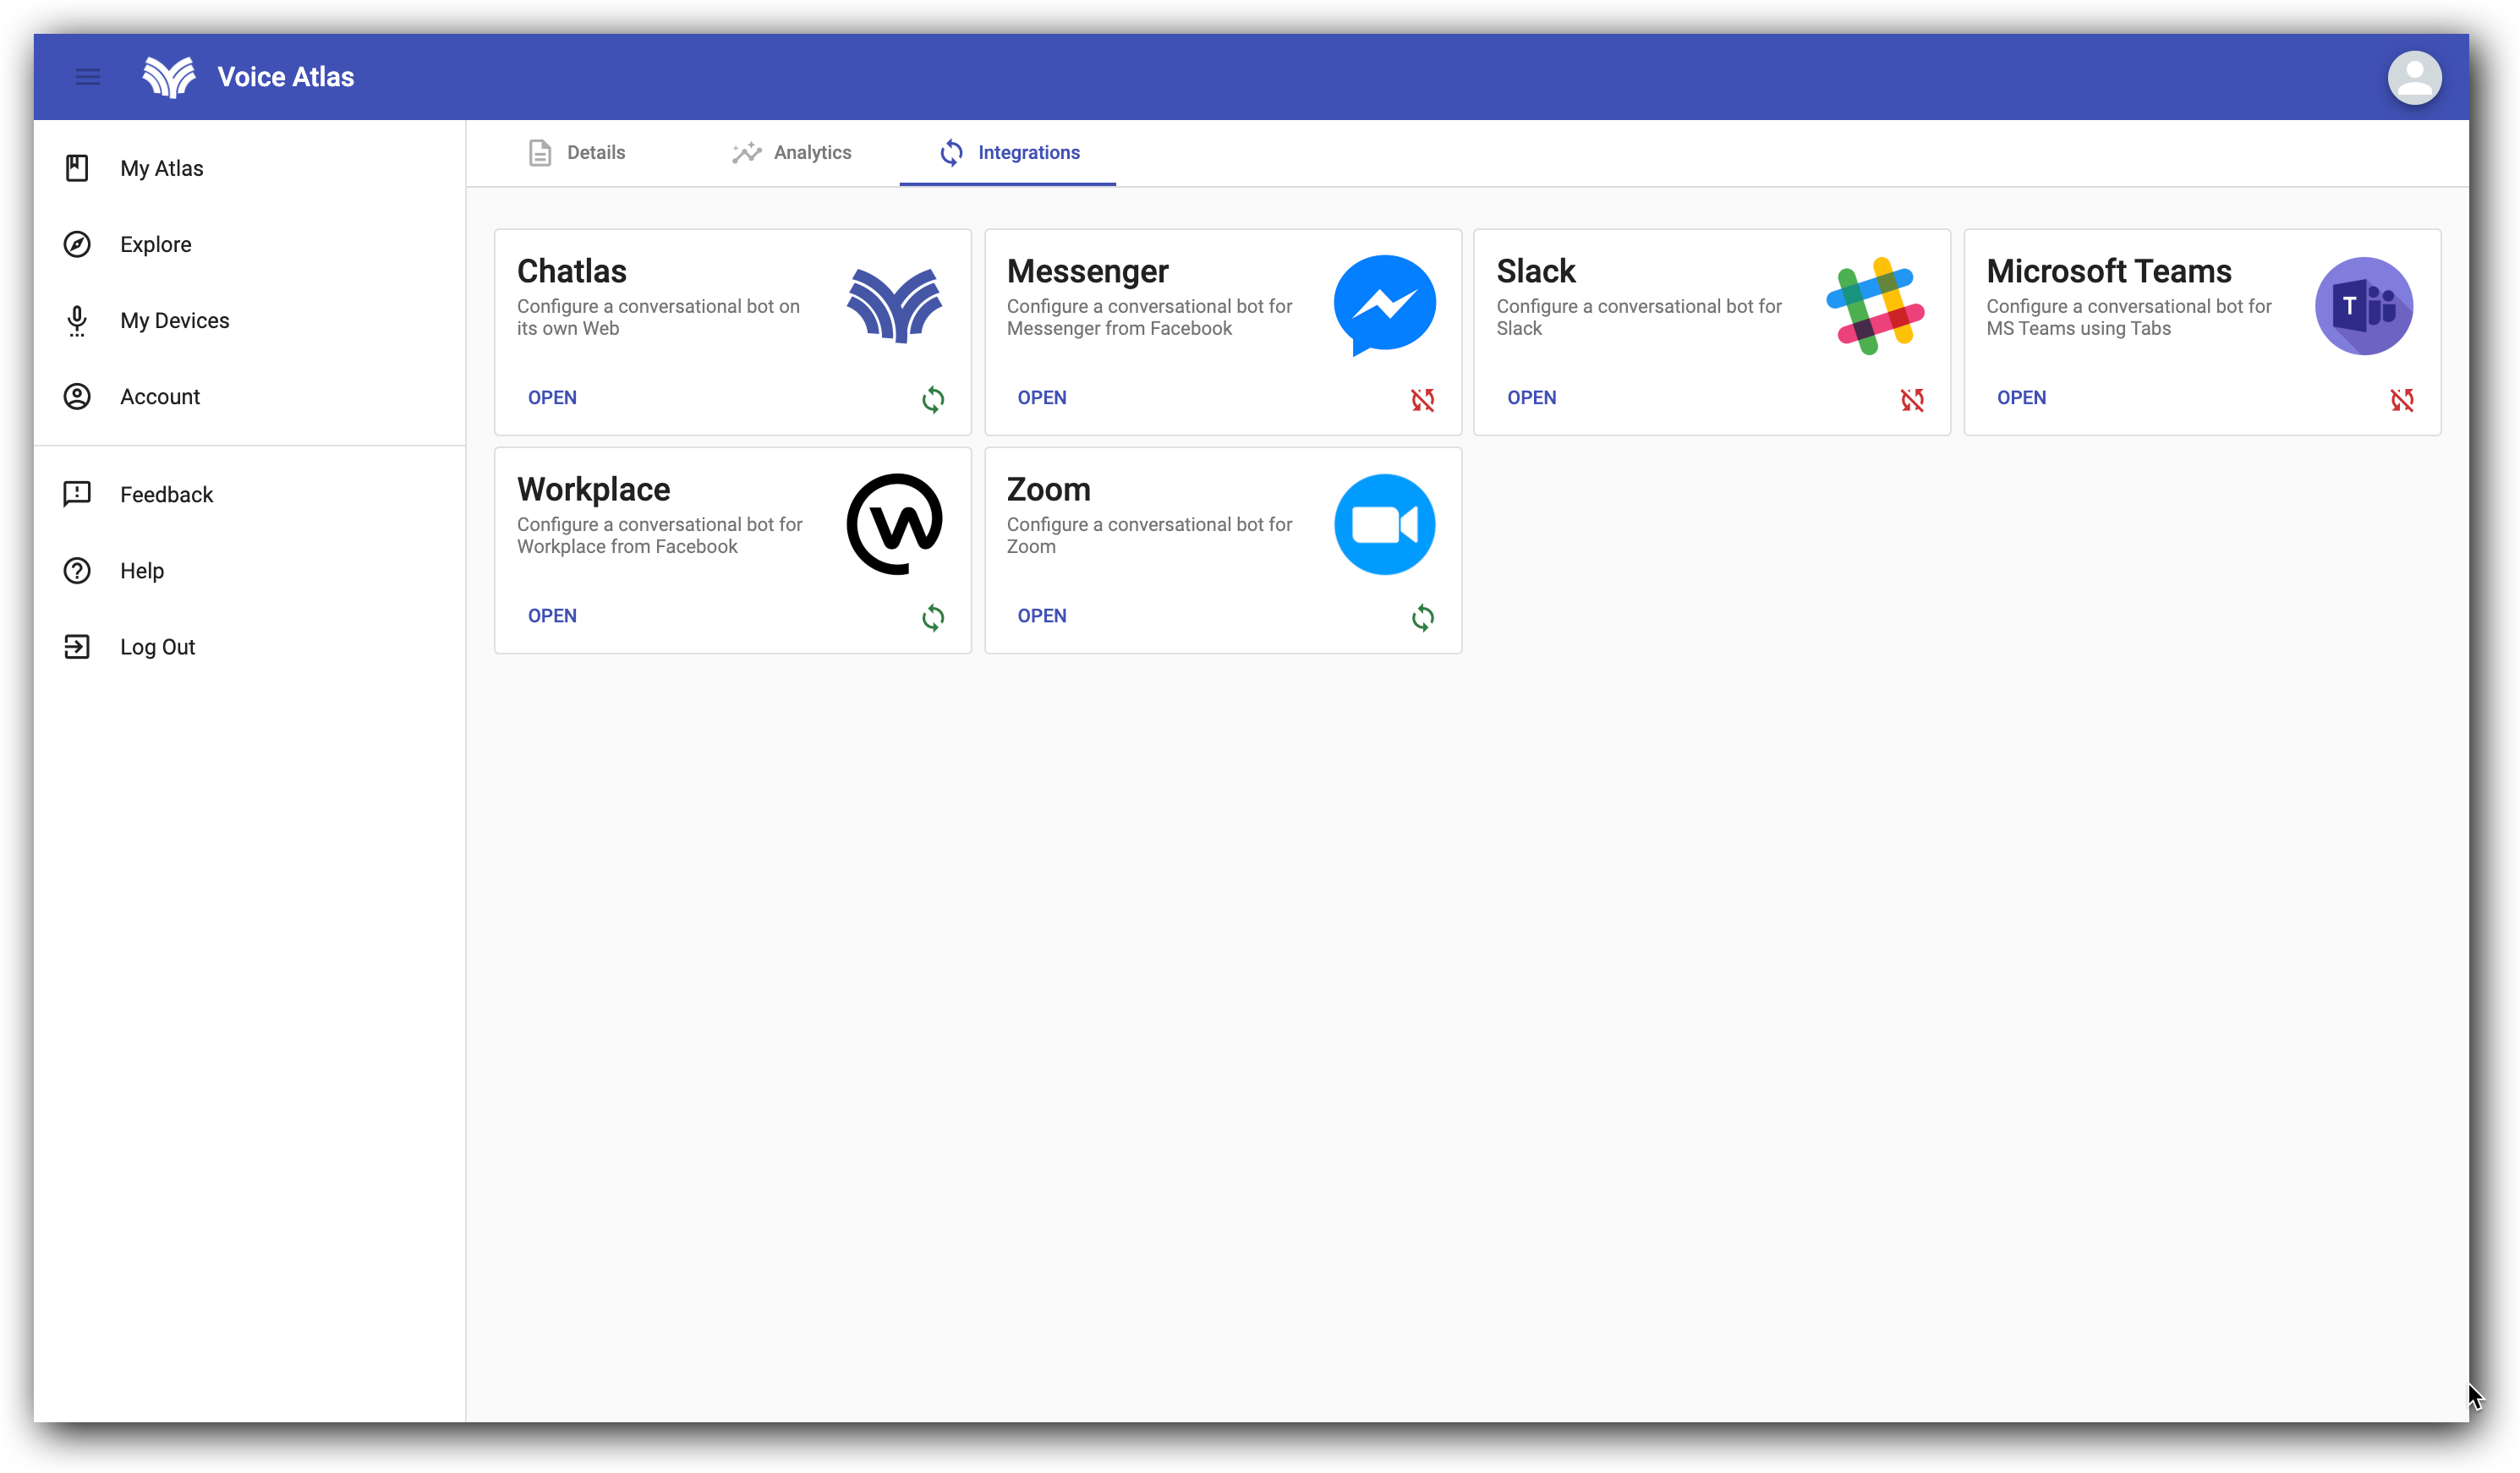
Click the Integrations tab
Under Chatlas click “OPEN”
Click the “TOGGLE” in the top, right hand-corner
Follow instructions provided in integration set-up
Click the Clipboard icon (copy to clipboard) to copy the integration script for your website
Click “SAVE”
After completing these steps, the page will automatically refresh and your chatbot will be active. Be sure to add the copied script to your website.
Disabling chatbots
All chatbots can be disabled at any time. Under the Integrations tab, you will be able to quickly check which chatbots are activate or inactive by the sync icon (arrows) in the lower, right-hand corner. An activated chatbot will show the arrows while an inactivated chatbot will show a slash through the arrows.
To disable your chatbot, complete the following steps:
Click “OPEN” on the Atlas with the chatbot you want to disable
Click the Integrations tab
Click “OPEN” on the chatbot for which you would to disable
Click the “TOGGLE” in the top, right hand-corner
Click “SAVE”
After completing these steps, the page will automatically refresh and your chatbot will be inactive.
Activate Atlas on Alexa™-enabled device (optional)
Your Atlas is compatible with any Alexa™-enabled device. All you have to do is link your Voice Atlas account with the skill and activate the Atlas you would like use.
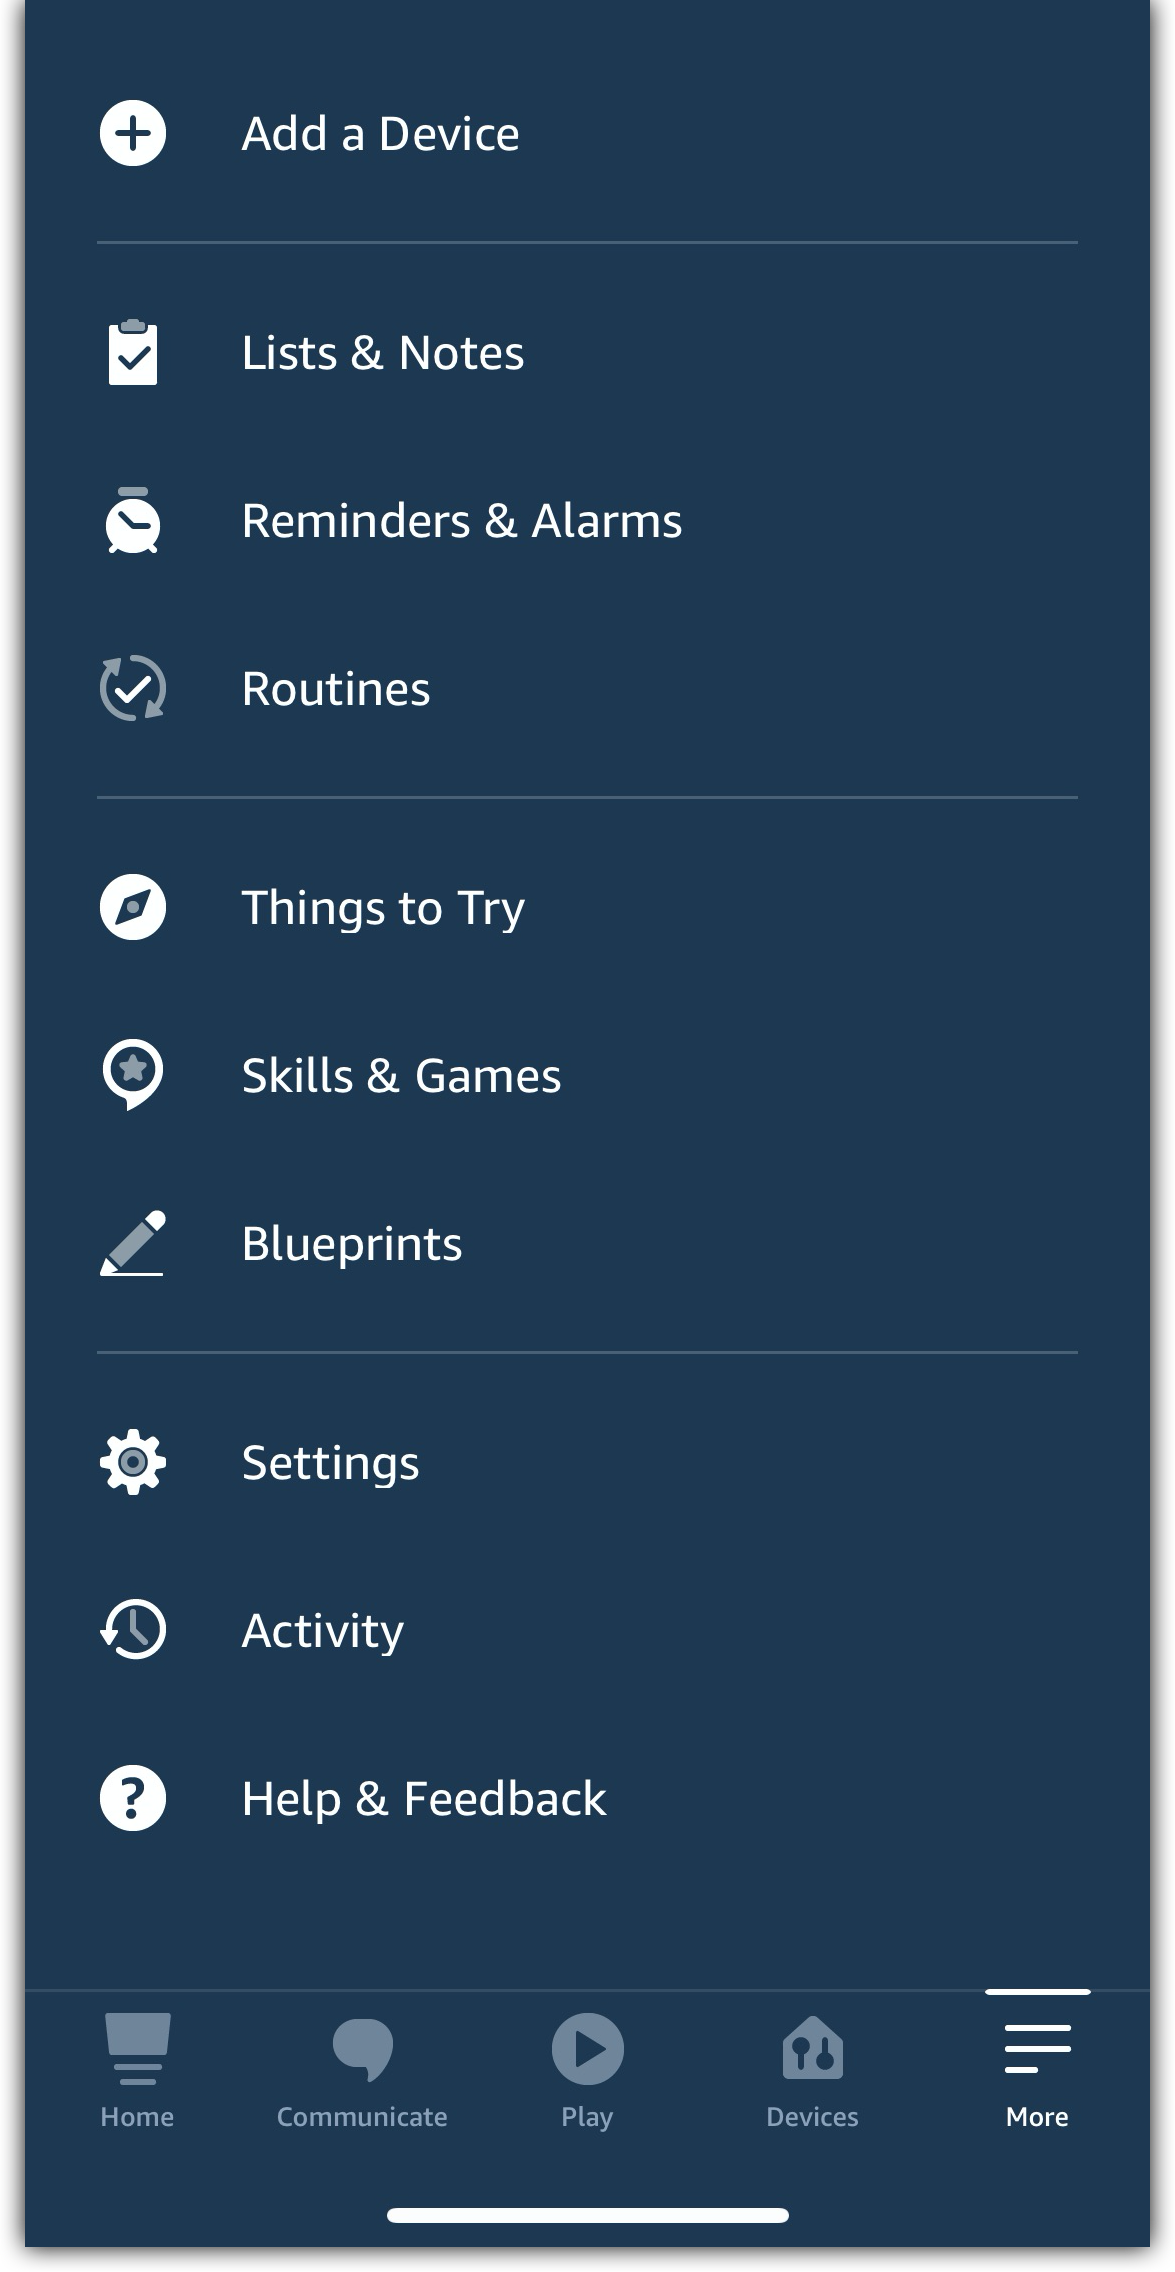
If you are using your Alexa™ mobile app, open the app and search for “Voice Atlas” under “Skills & Games”. Once you find the Voice Atlas Skill, tap to open.
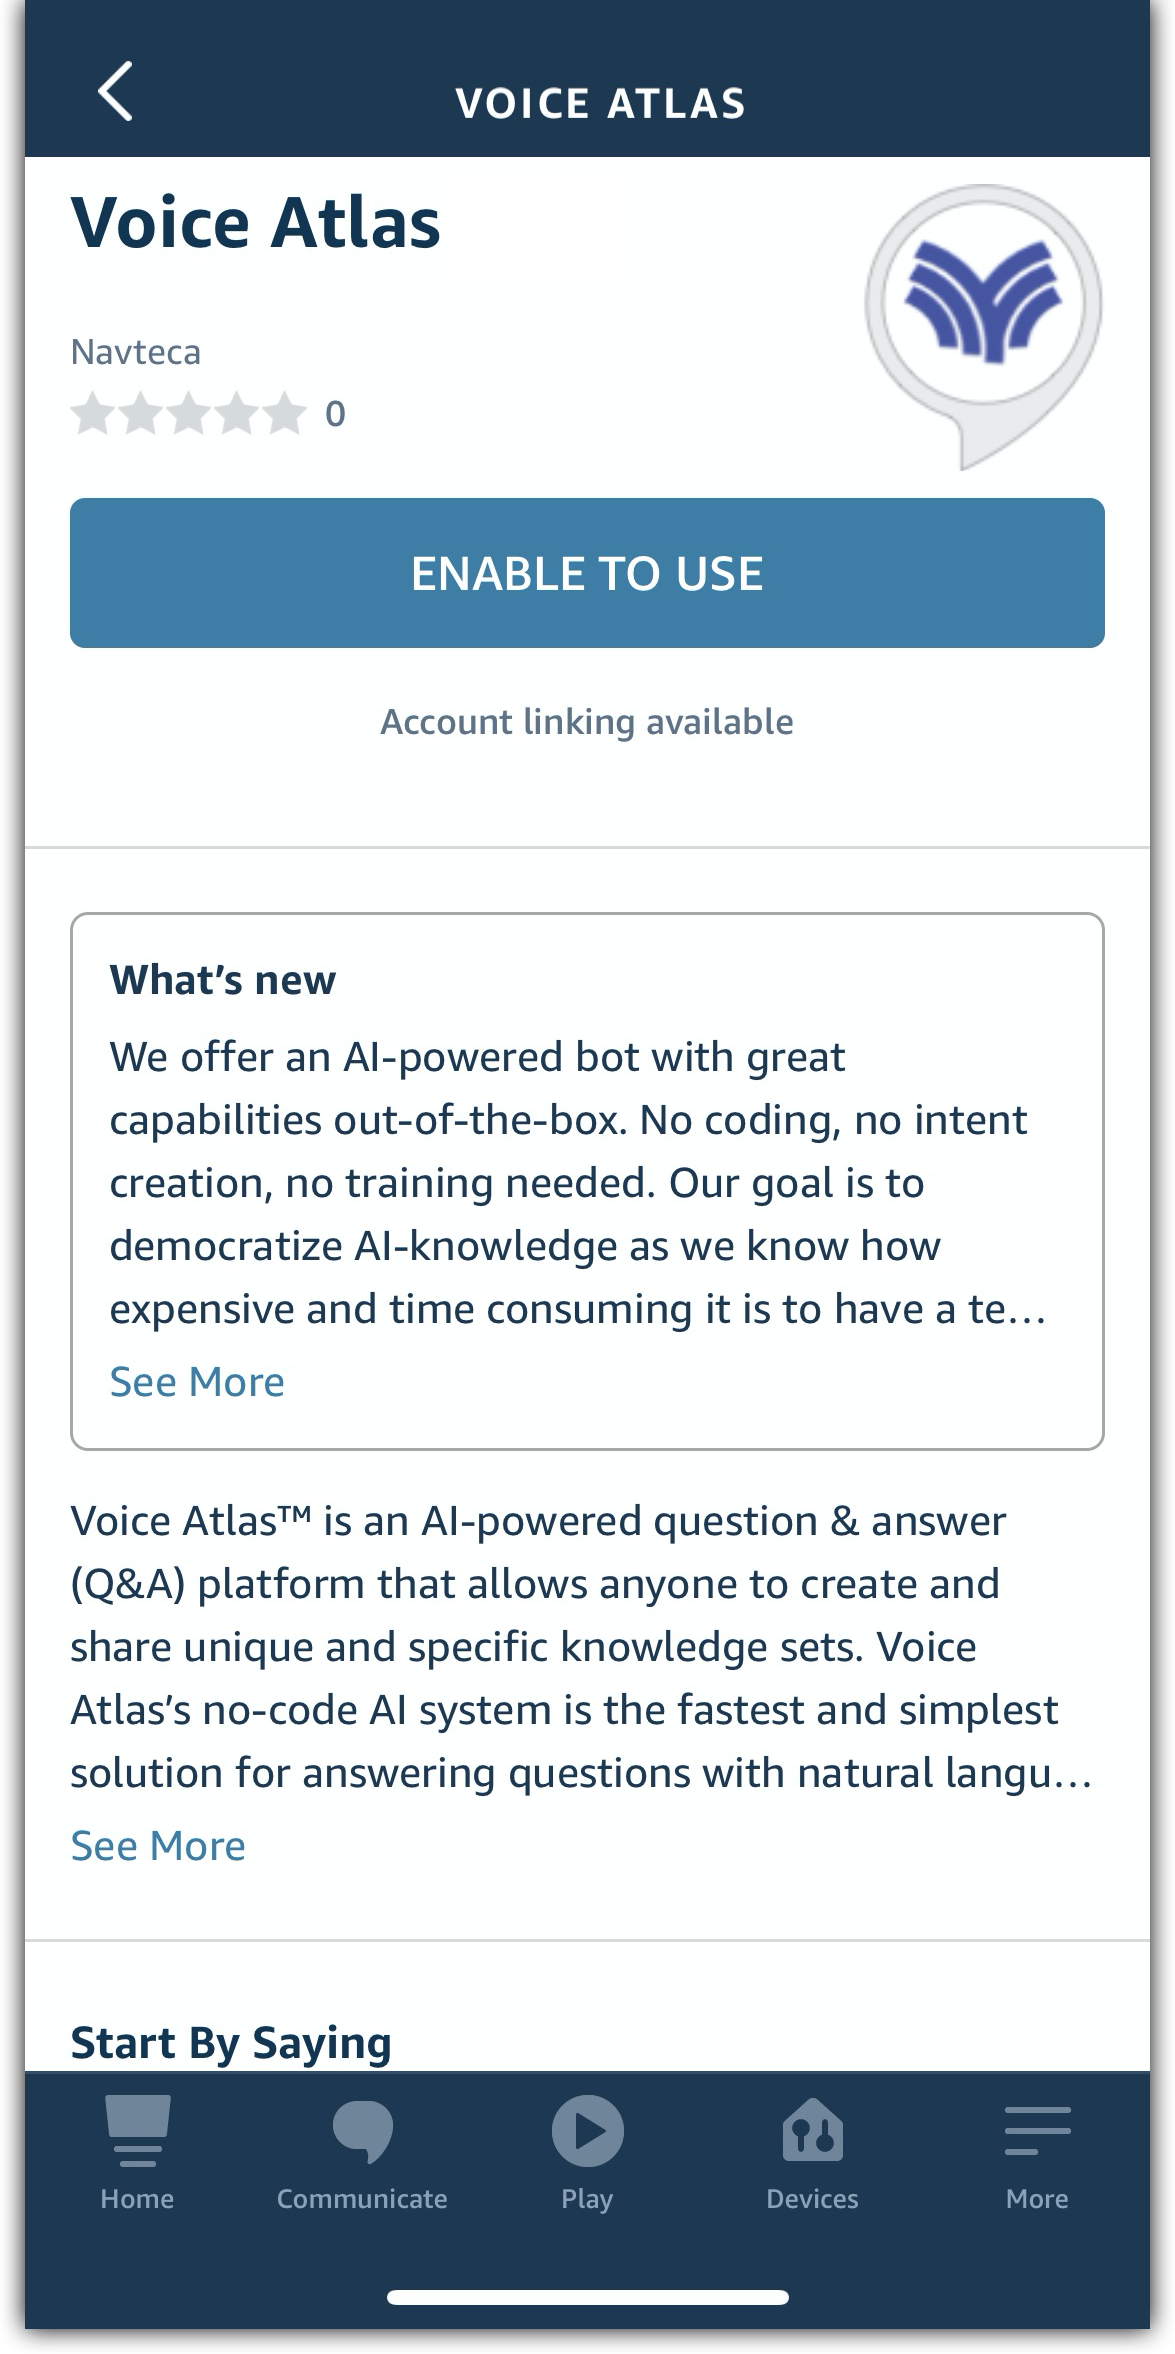
After you have opened the Voice Atlas Skill, you will see a “ENABLE TO USE” button. Tap this button to enable your Skill. You may now launch the Skill on your device by saying “Alexa, open my Atlas.”
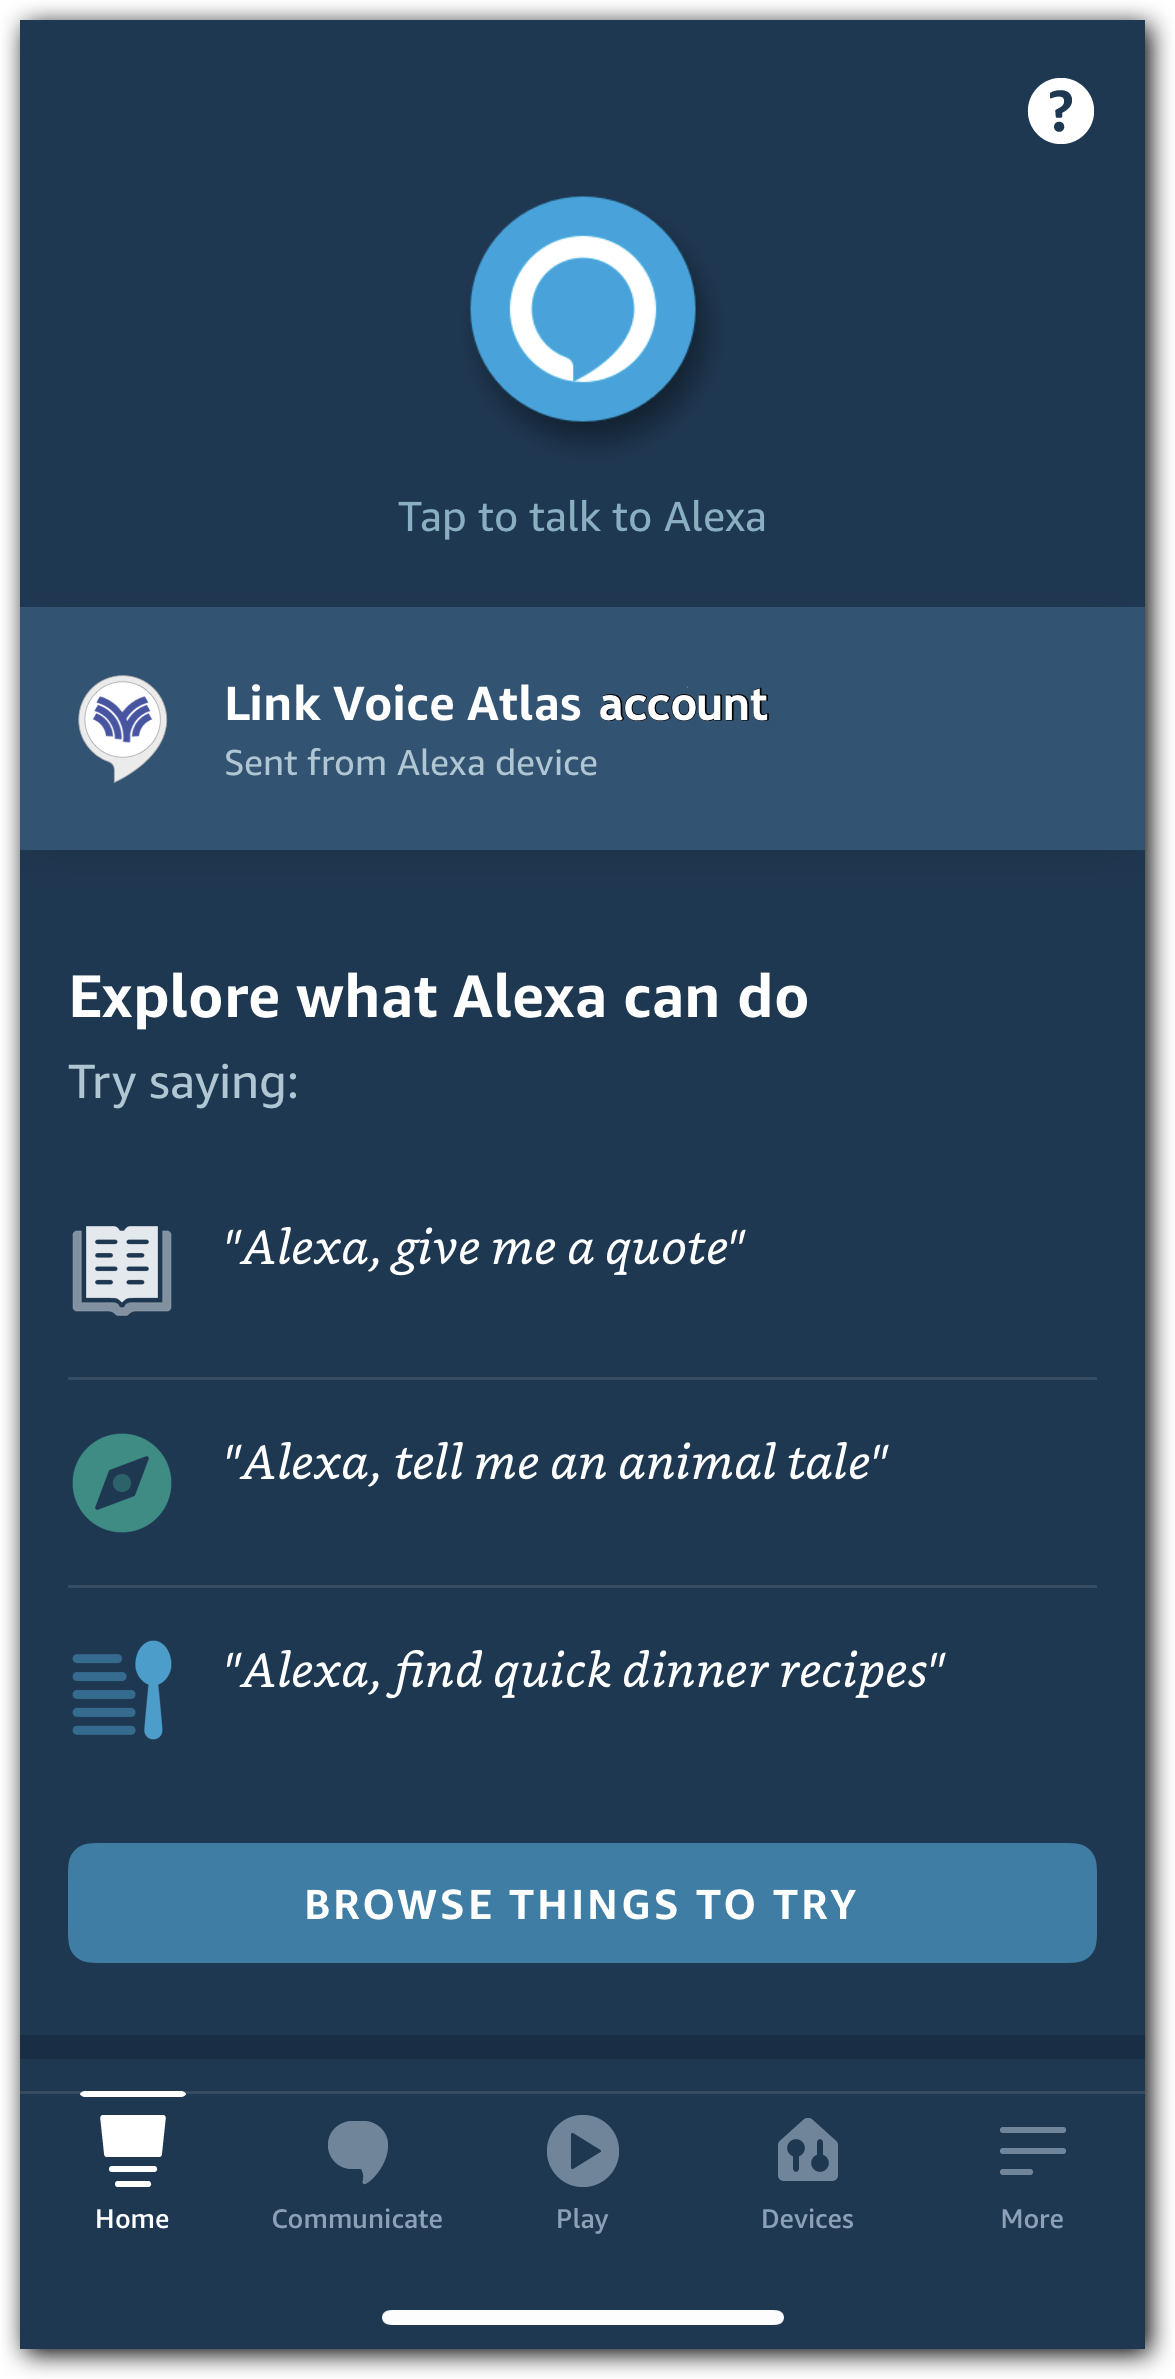
After you have launched the Voice Atlas Skill for the first time, you will be asked to link your Voice Atlas account. You will be sent a card to your mobile app, which you may tap to open.
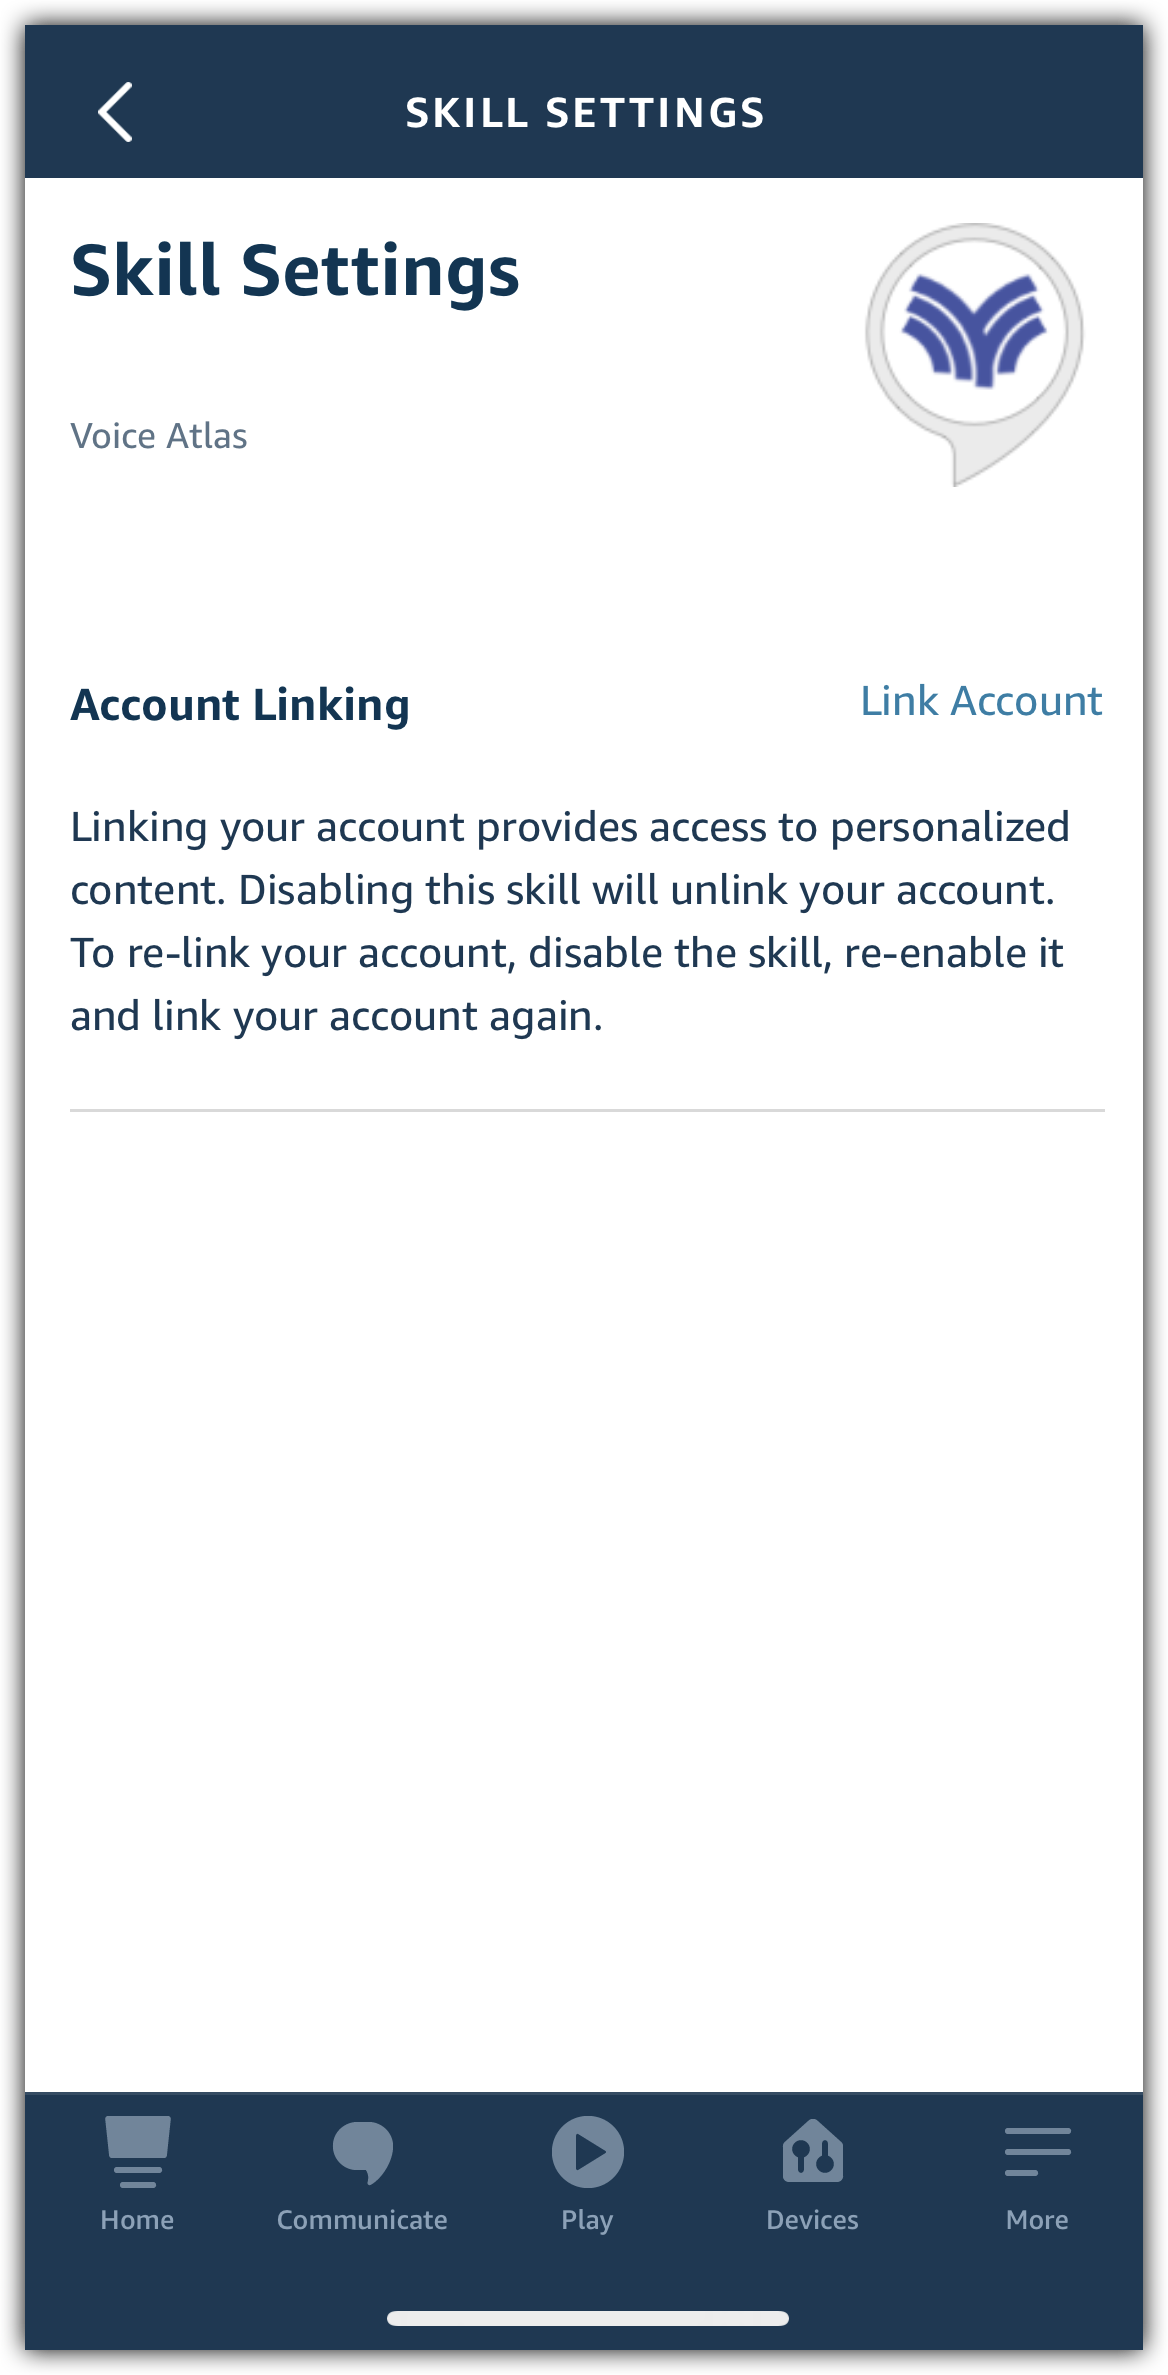
Tap on “Link Account” which will bring you to a sign in page. Sign in with your Voice Atlas account email and the password you created.
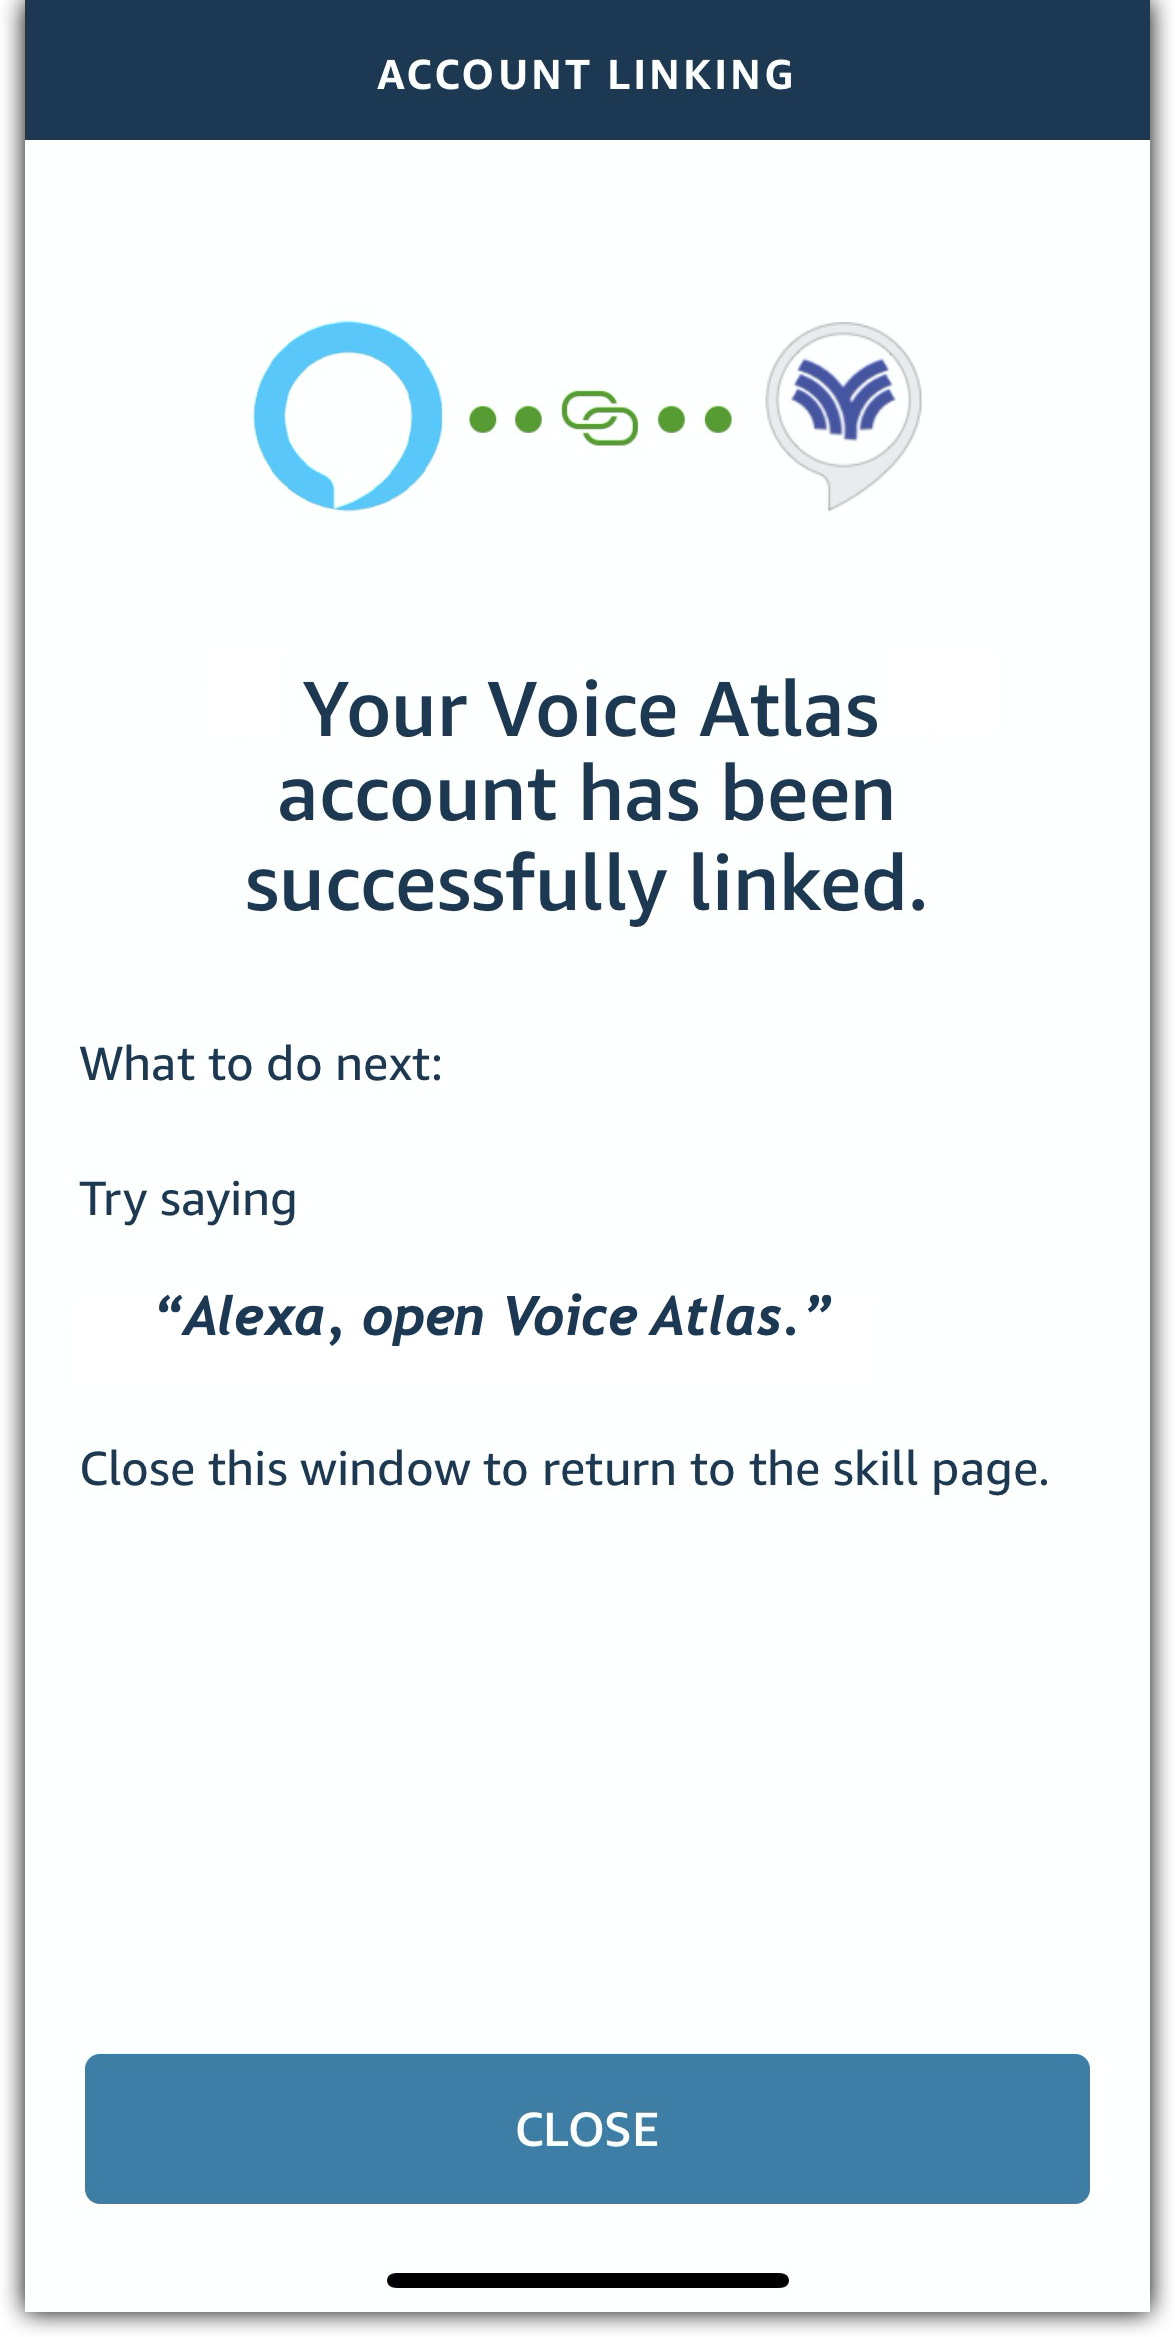
After successfully linking your account, the app will automatically refresh and you will see a message that tells you to once again launch the Voice Atlas Skill on your device.
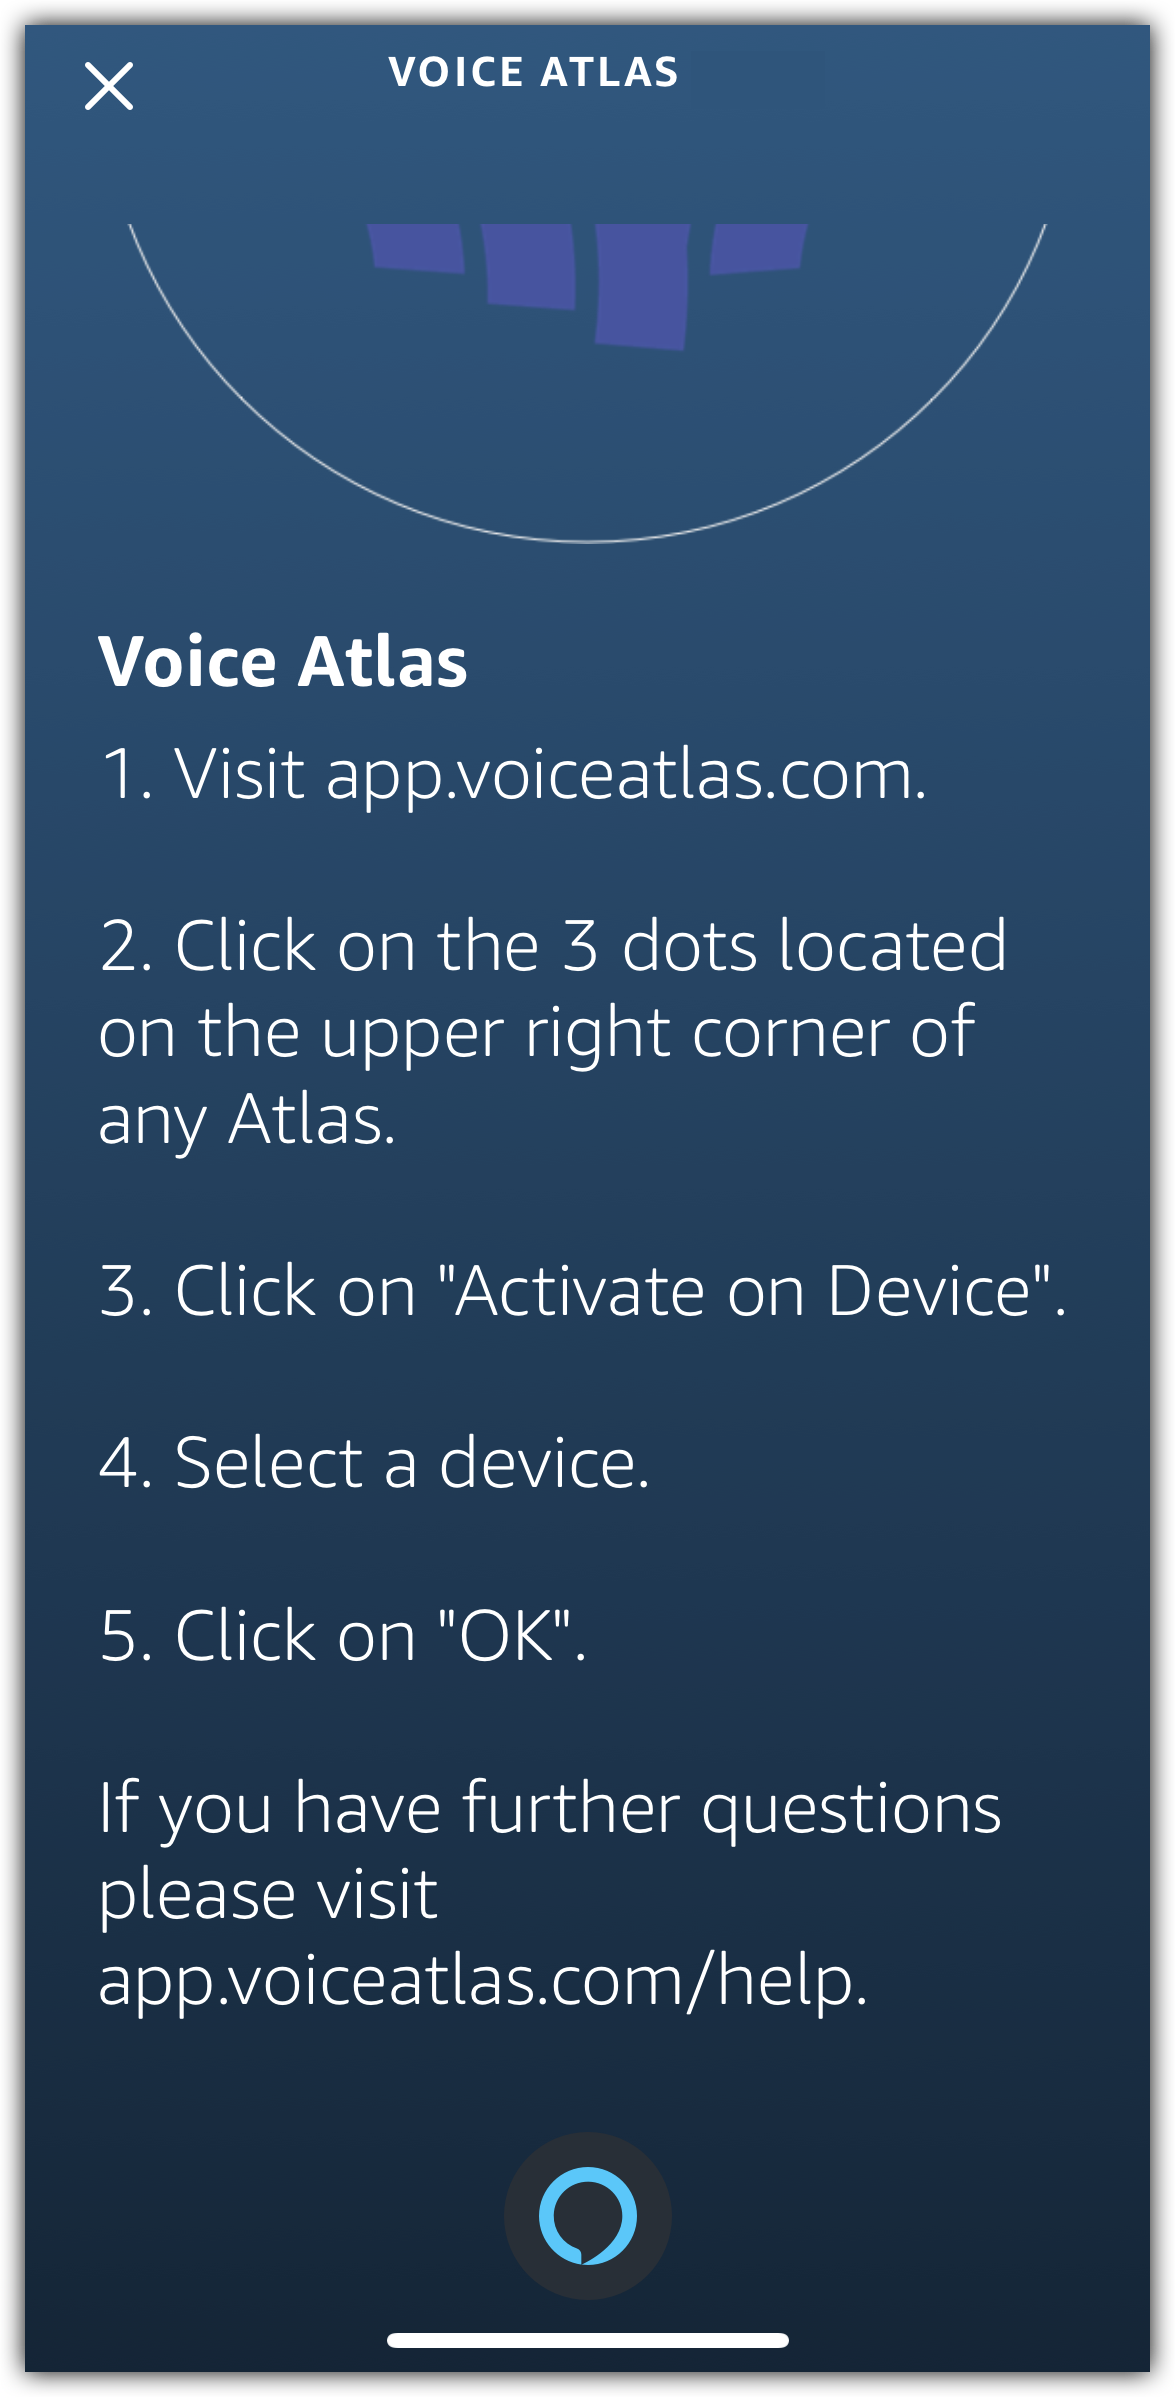
Once you have launched the Voice Atlas Skill after linking the account, the Skill will now prepare your environment with Voice Atlas account. If you have not activated an Atlas, you will be sent another card with the steps to activate an Atlas on your device.
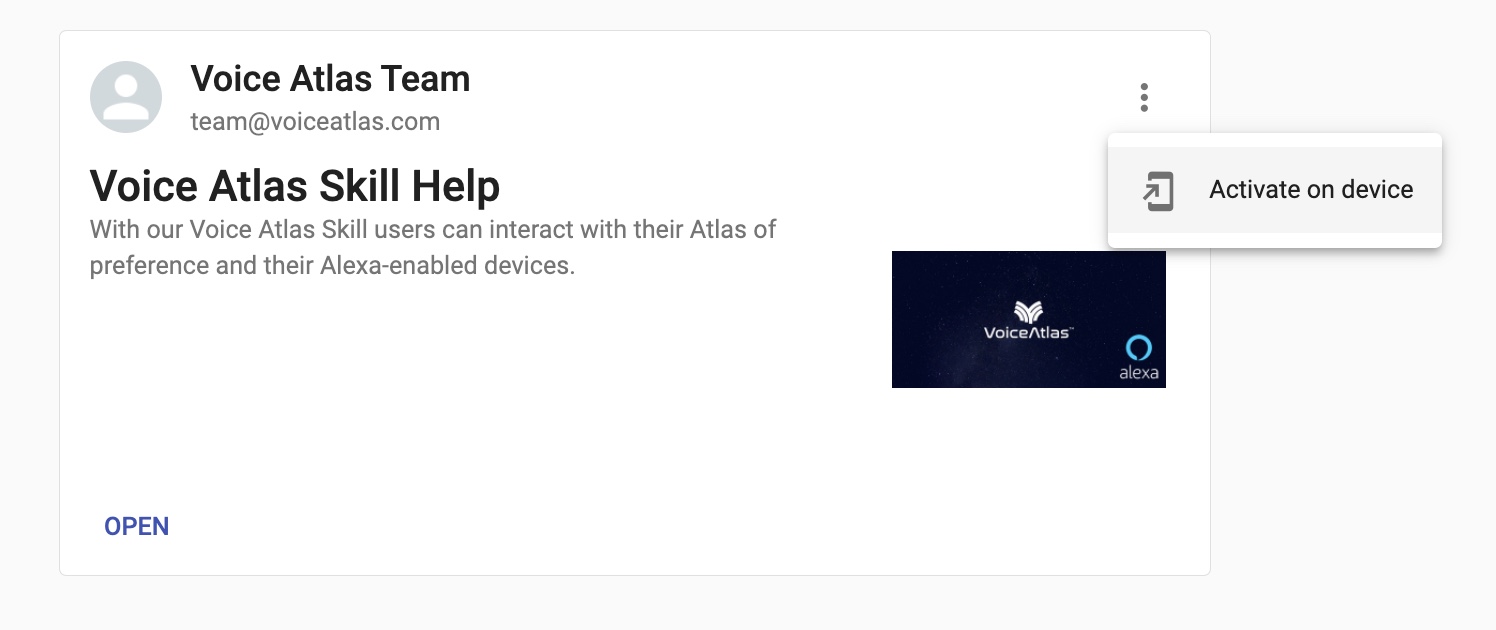
Sign in to the Voice Atlas Voice Atlas Web App and find the Atlas you would like to activate on your device. From the “Options menu” (three vertical dots) click the “Activate on device” option. You will have the option to select which device for which you want to activate the Atlas. Once you click “OK” the page will refresh and you are ready to launch the Voice Atlas Skill with your activated Atlas.
Activate Atlas on device step-by-step guide
To enable your Atlas on your Alexa™-enabled device, complete the following steps:
Search for the Voice Atlas skill from your Alexa™ mobile app or or go to alexa.amazon.com
Enable the Voice Atlas Skill from your Alexa mobile app on alexa.amazon.com
Open the Voice Atlas Skill on your Alexa™-enabled device
Follow the instructions to link your Voice Atlas Account
Launch the Voice Atlas Skill again after linking account
Sign in to the Voice Atlas Web App
Select the Atlas which you would like to activate and Activate on Device from the Options menu in the top, right-hand corner
Select your Alexa™-enabled device. Click “OK”
The page will automatically refresh and your Atlas is now ready to use on your device.
Next steps
Now that you've got the basics down, you’re ready to keep creating on your own. Search the rest of the Help section for more on specific platform features. To your success!
On this page